Google OAuth2の導入
ここでは、公衆無線LAN認証サービス「wiffy」と接続する「Google OAuth2」クライアントIDの発行手順について解説します。
-
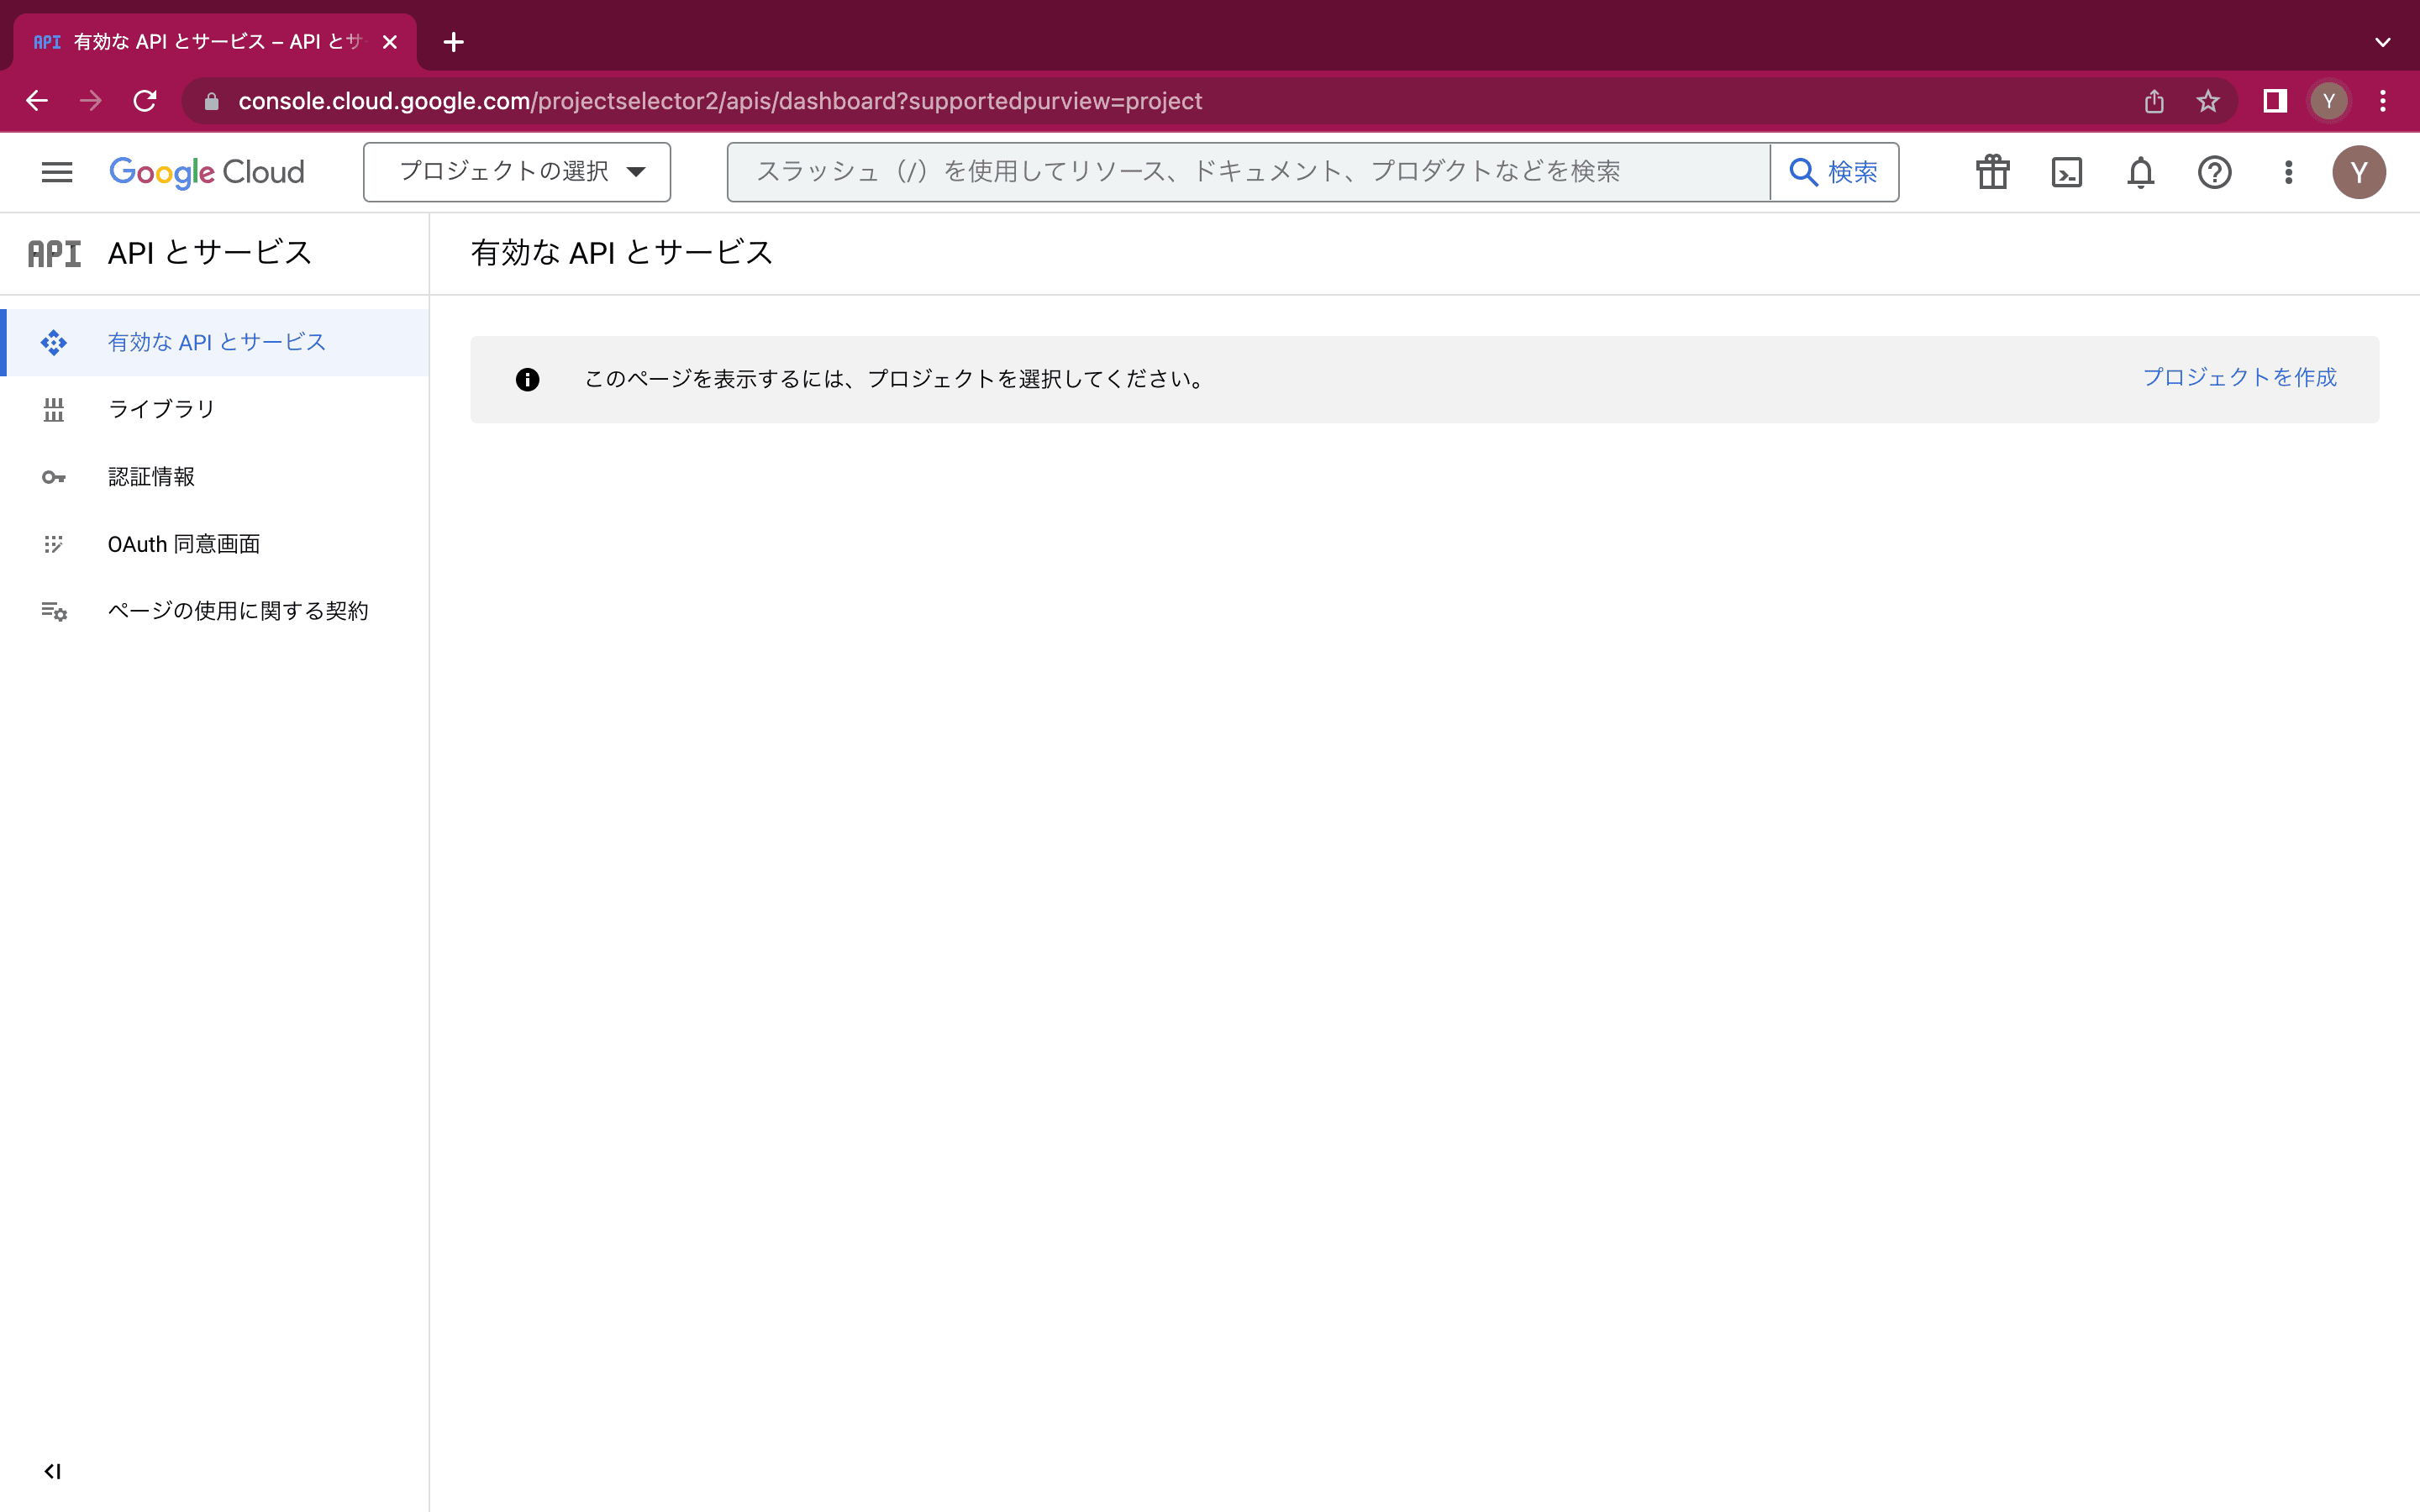
プロジェクトの作成
Google Cloud Consoleにアクセスし、組織のGoogleアカウント(無料のGmailアカウント)でログインします。
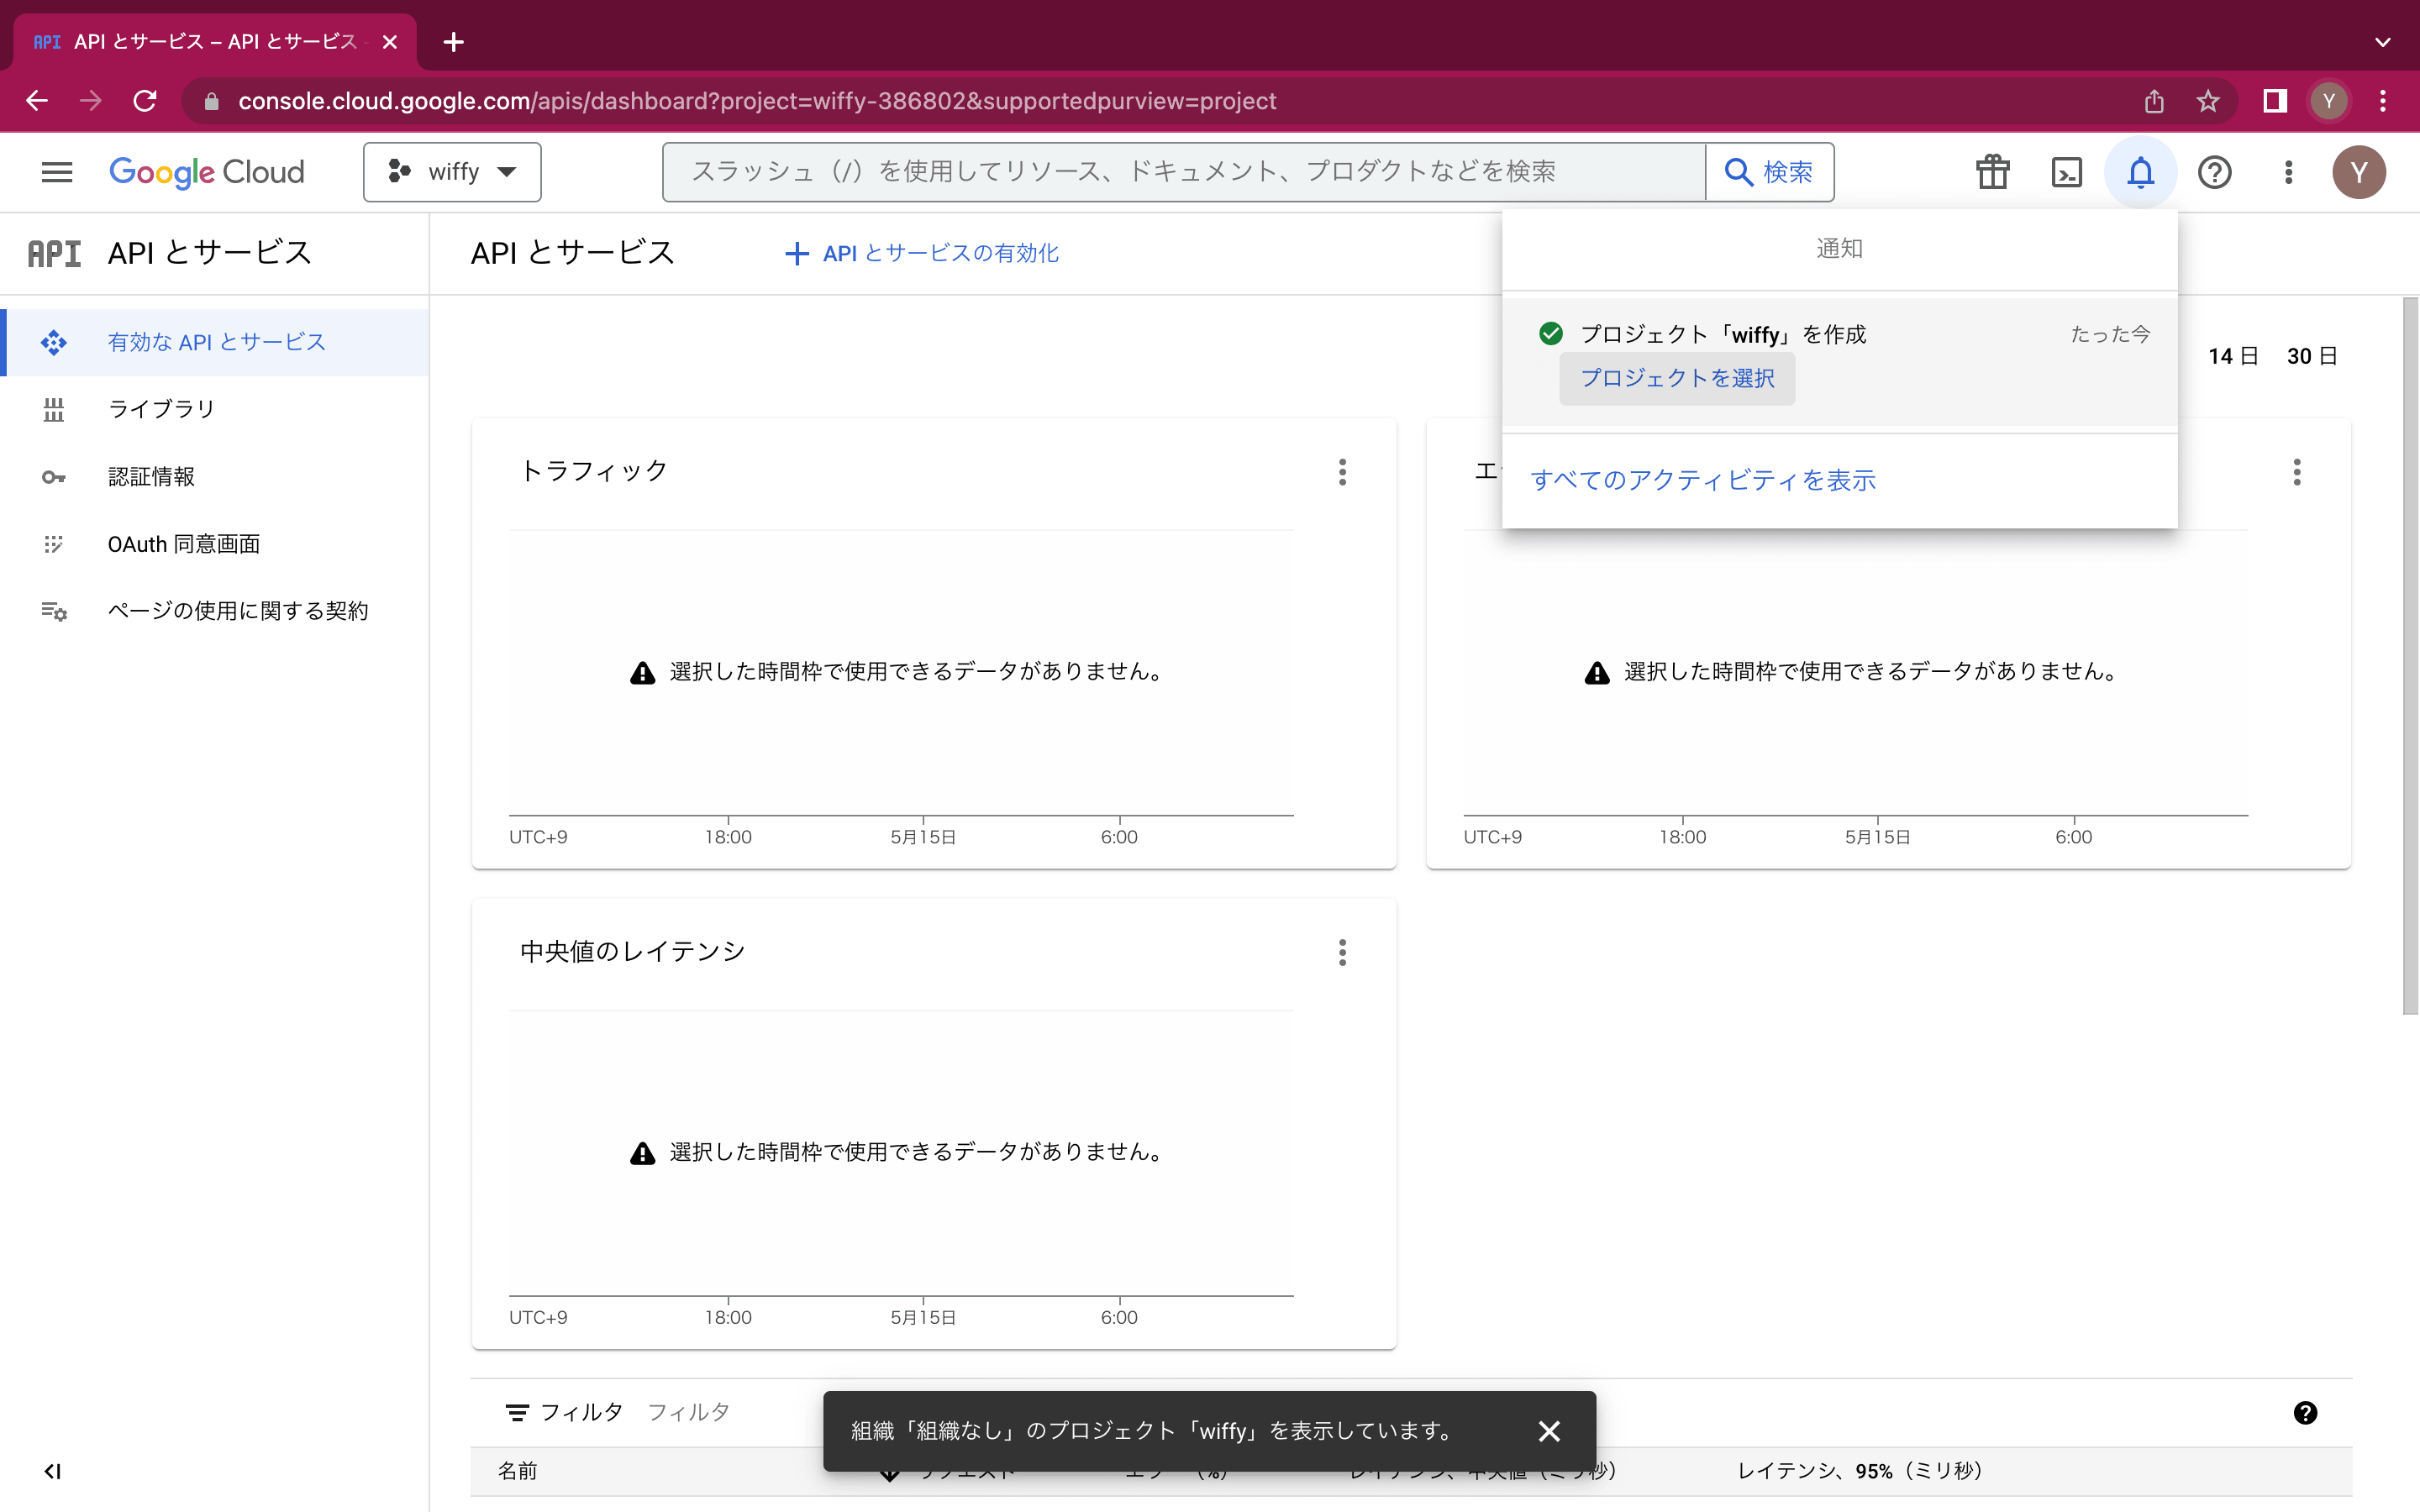
まず初めに、プロジェクトを作成し(プロジェクト名は任意)、そのプロジェクトを選択します。
-
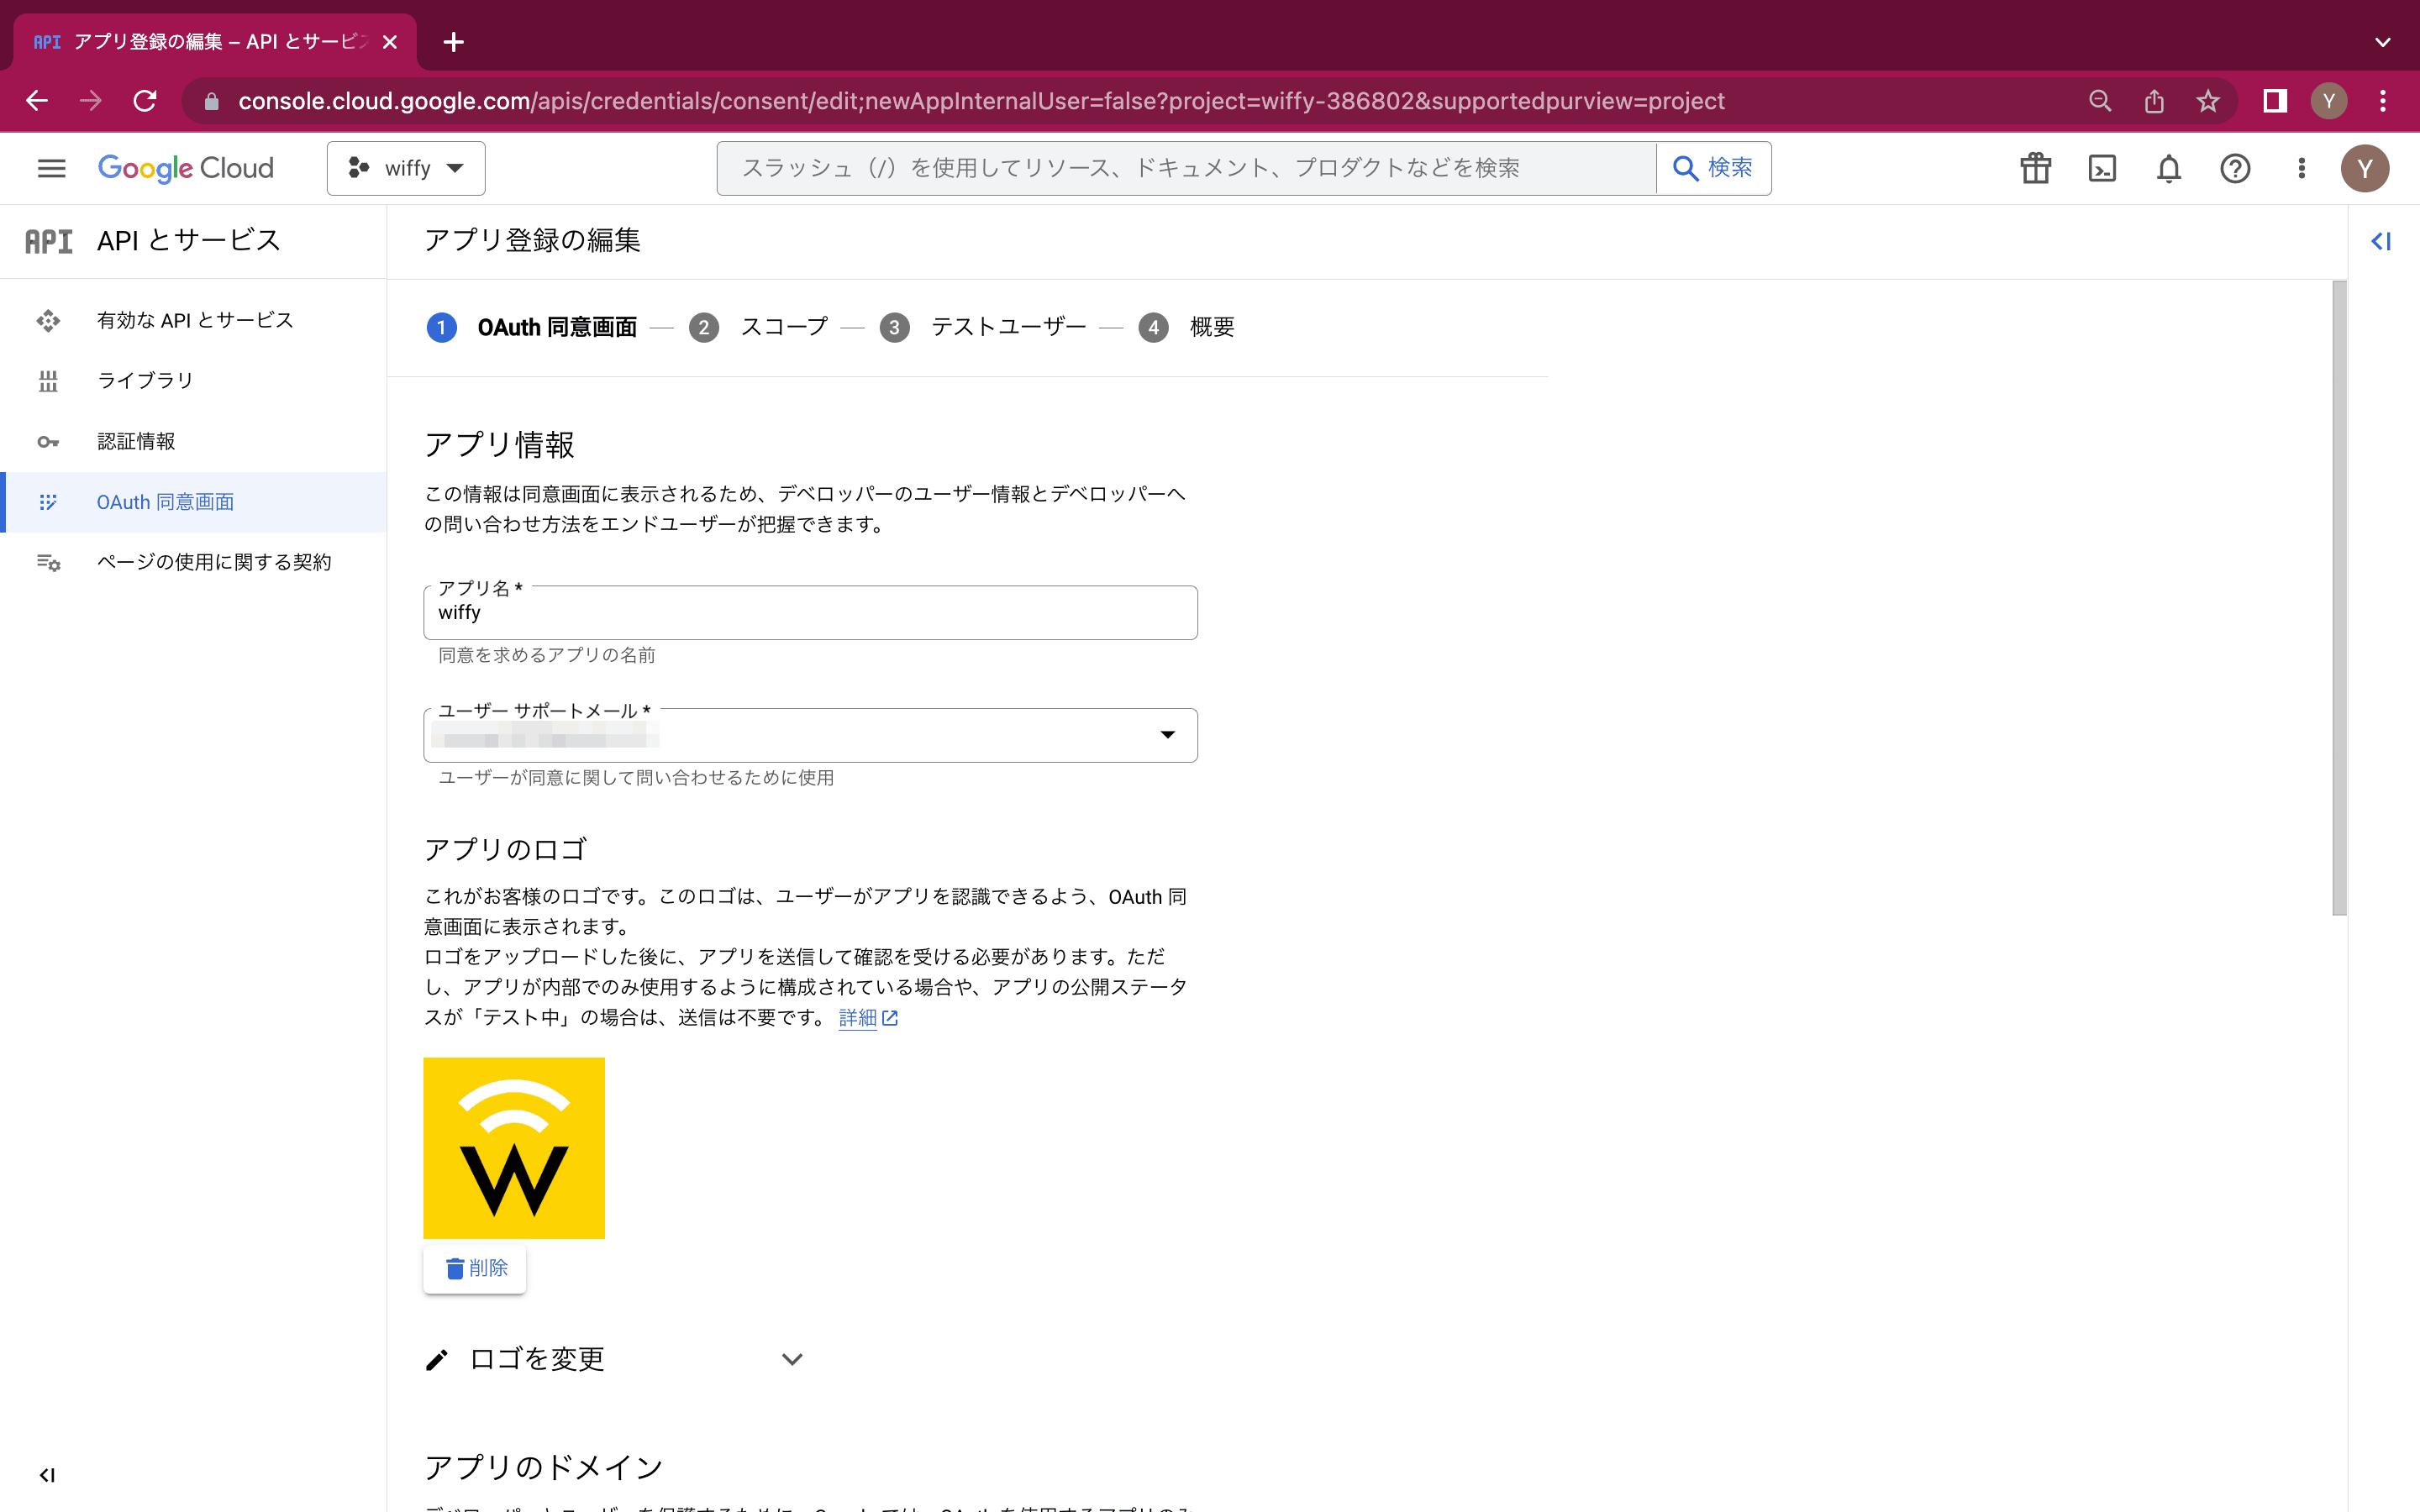
OAuth同意画面の作成
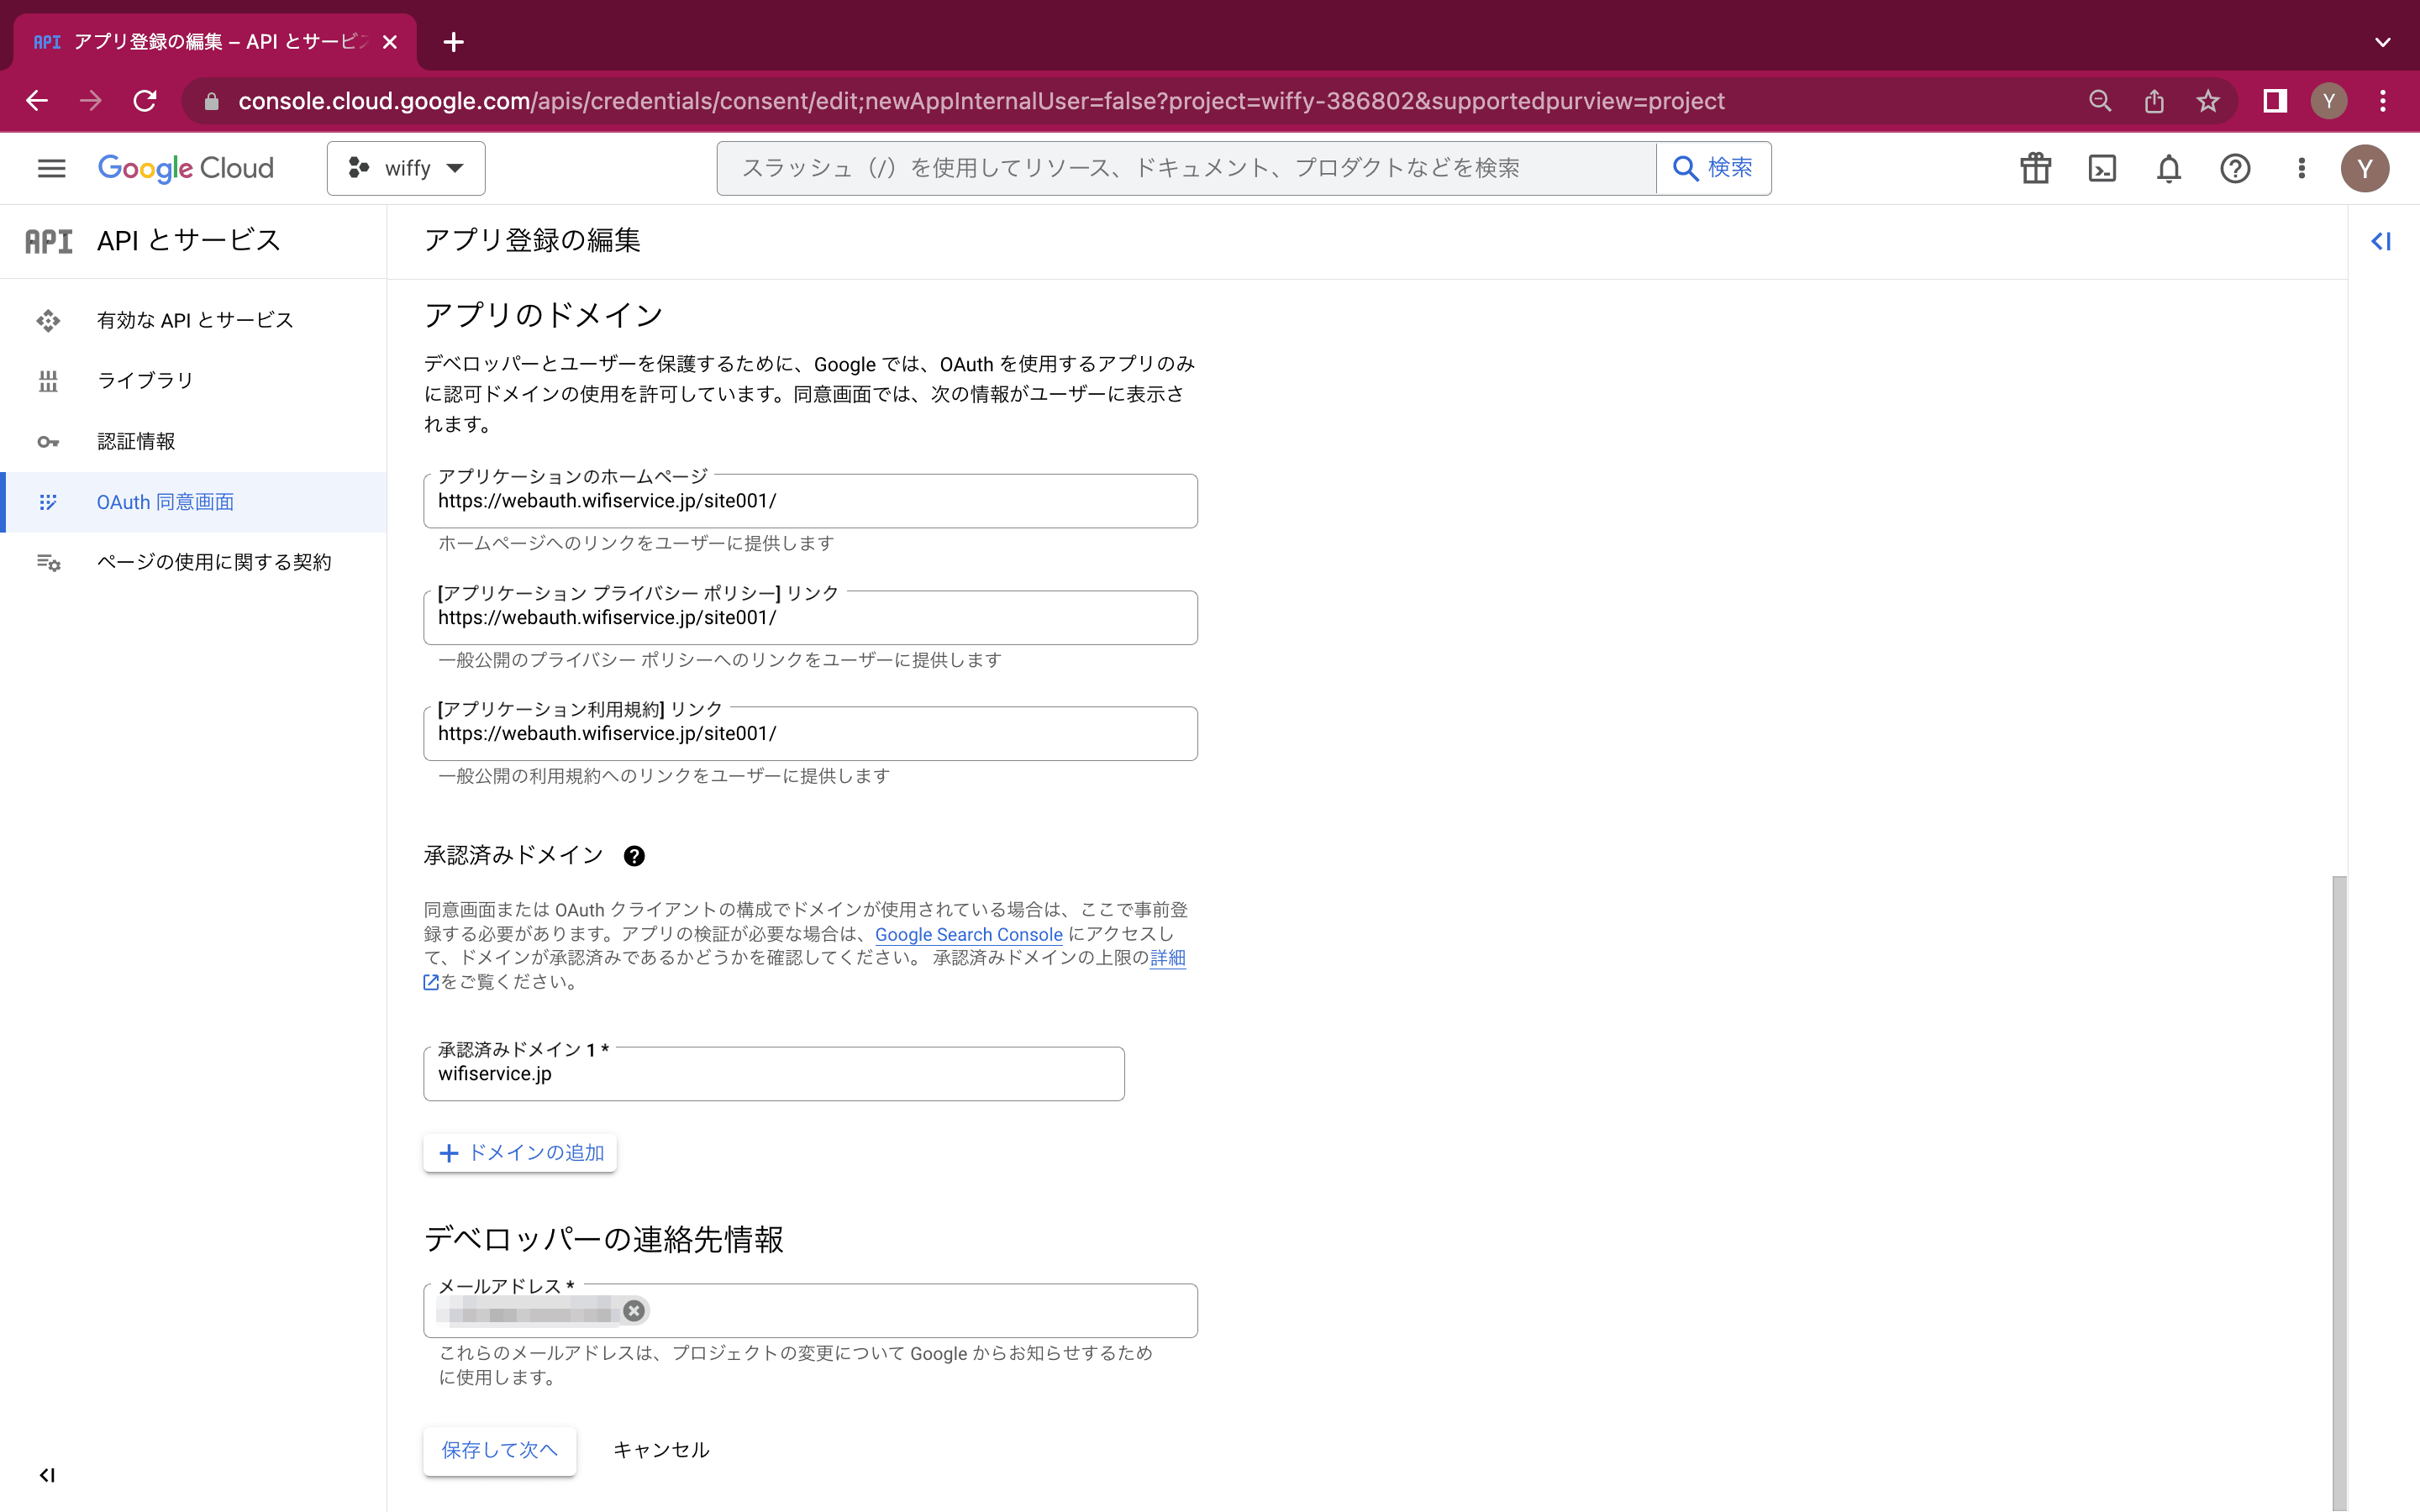
「OAuth同意画面」はOAuth同意画面側のWebページを構成します。
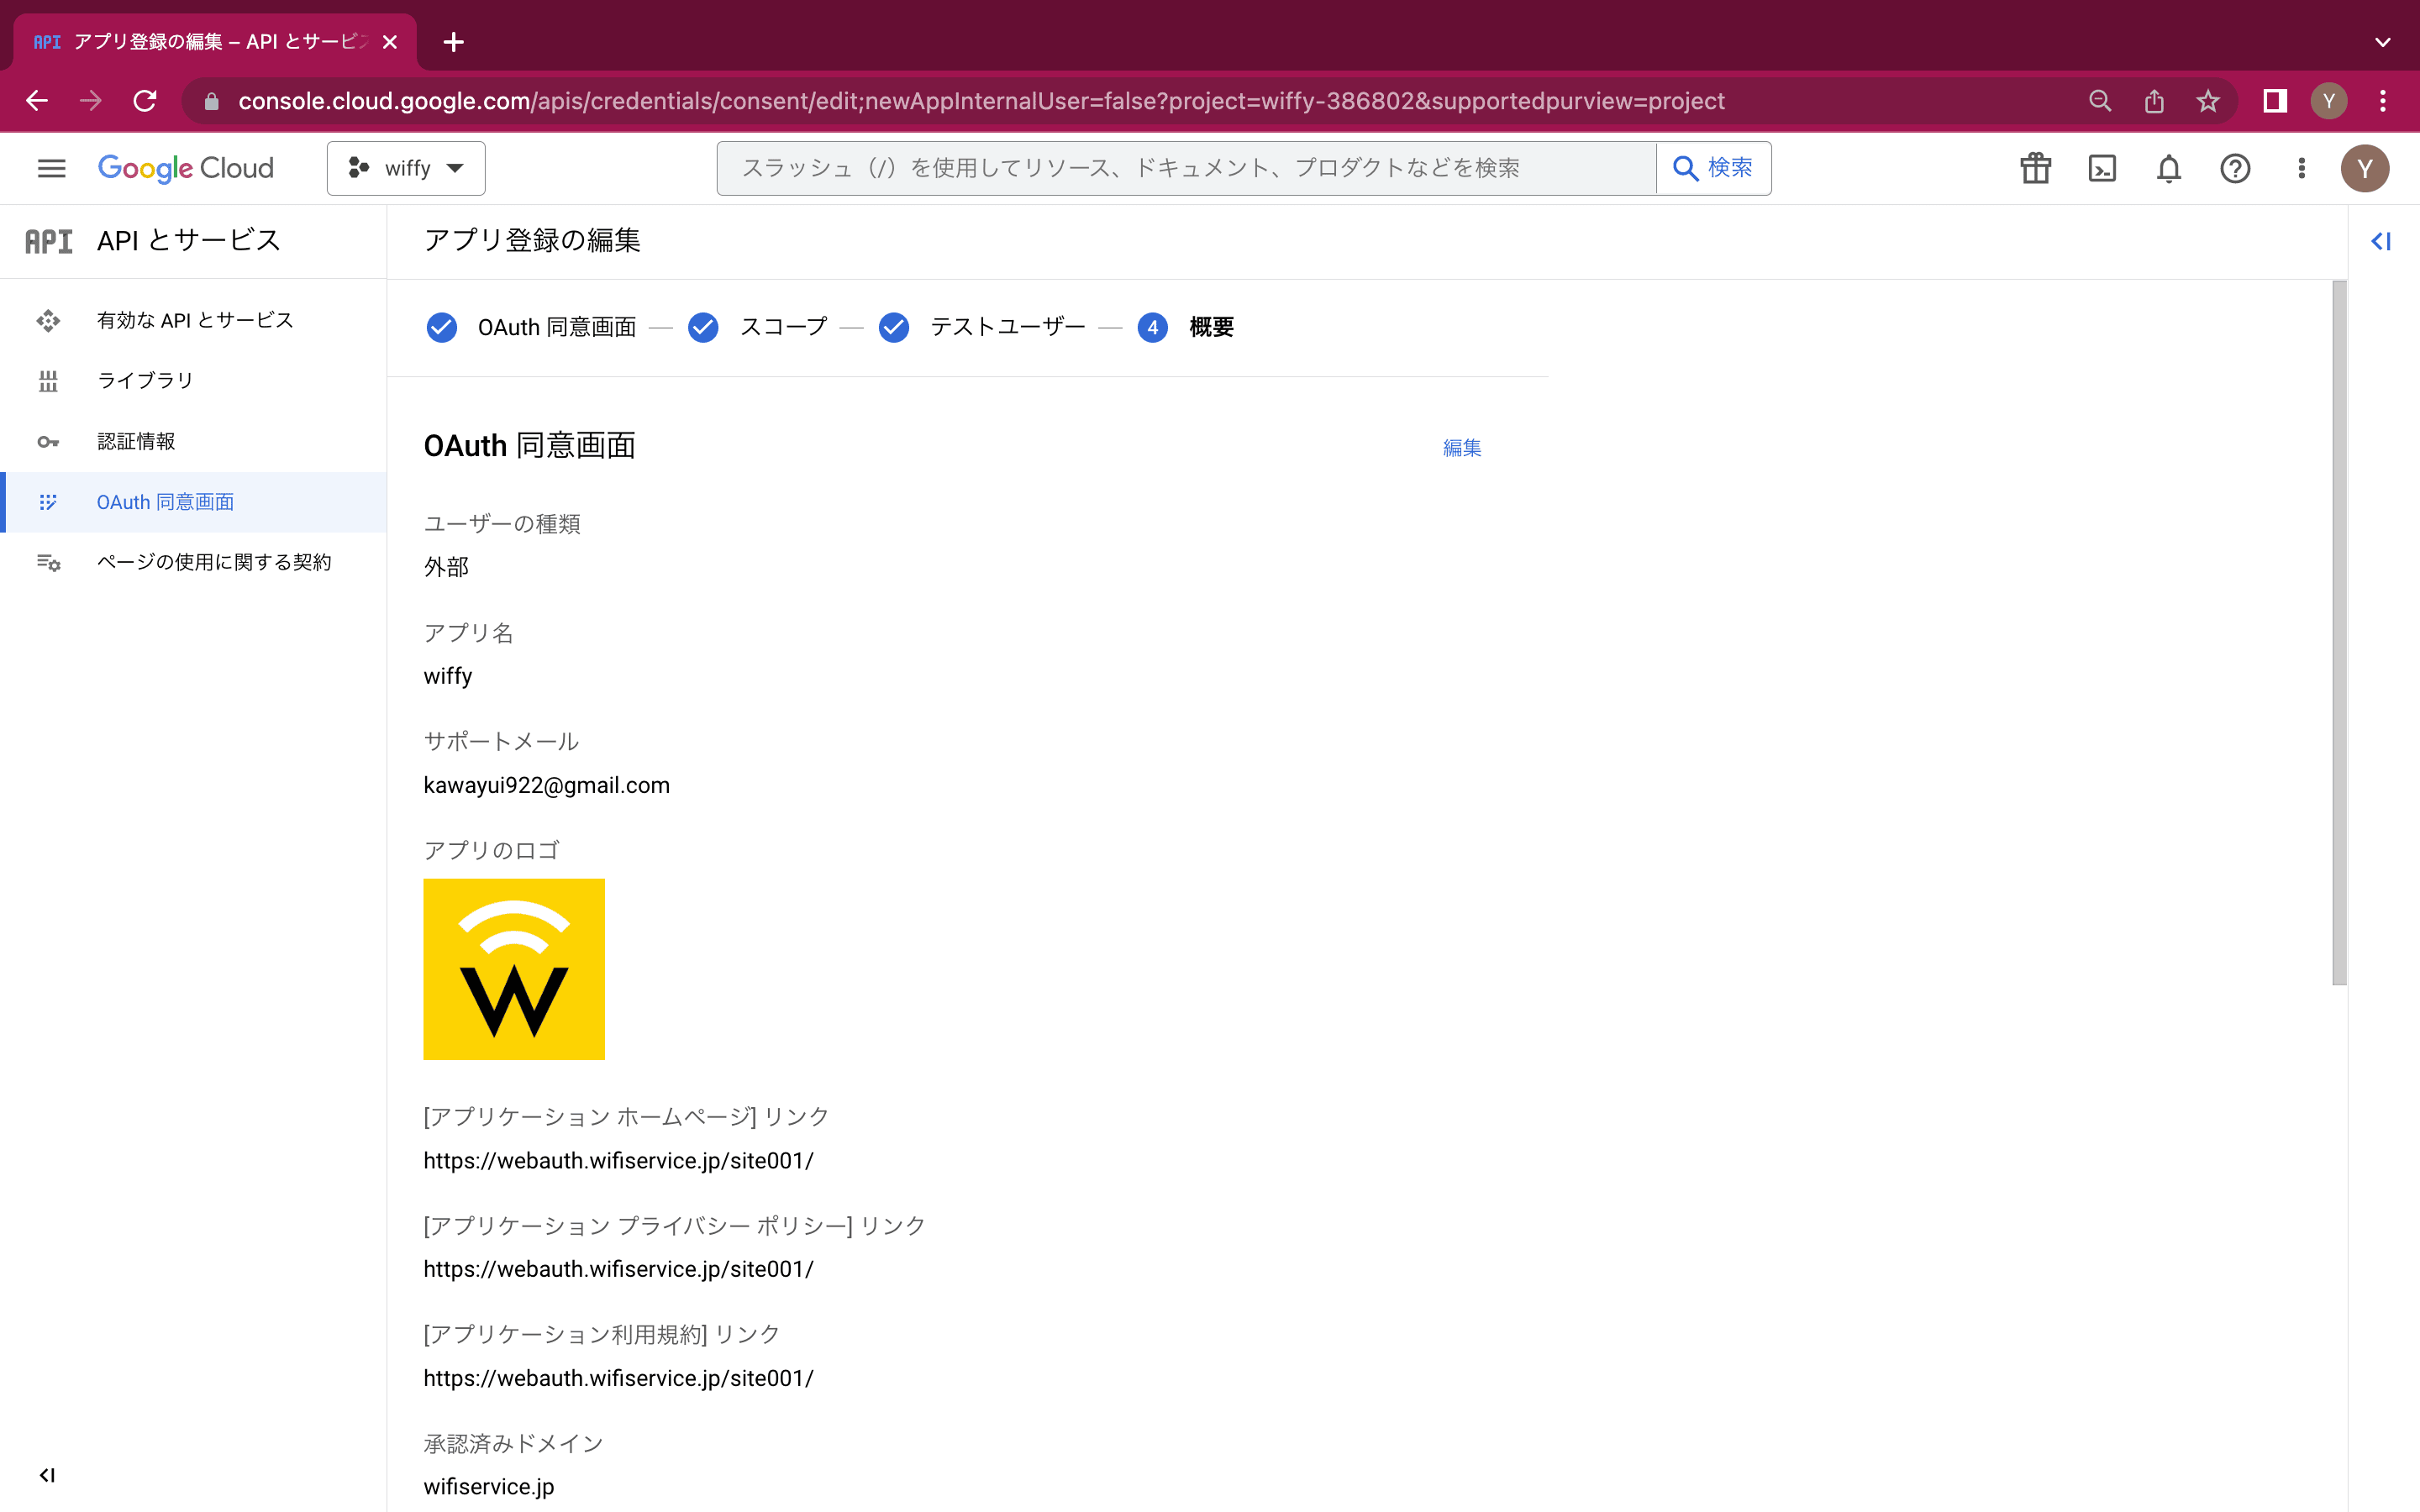
まず、このページを構成する以下の項目を設定し「保存して次へ」。
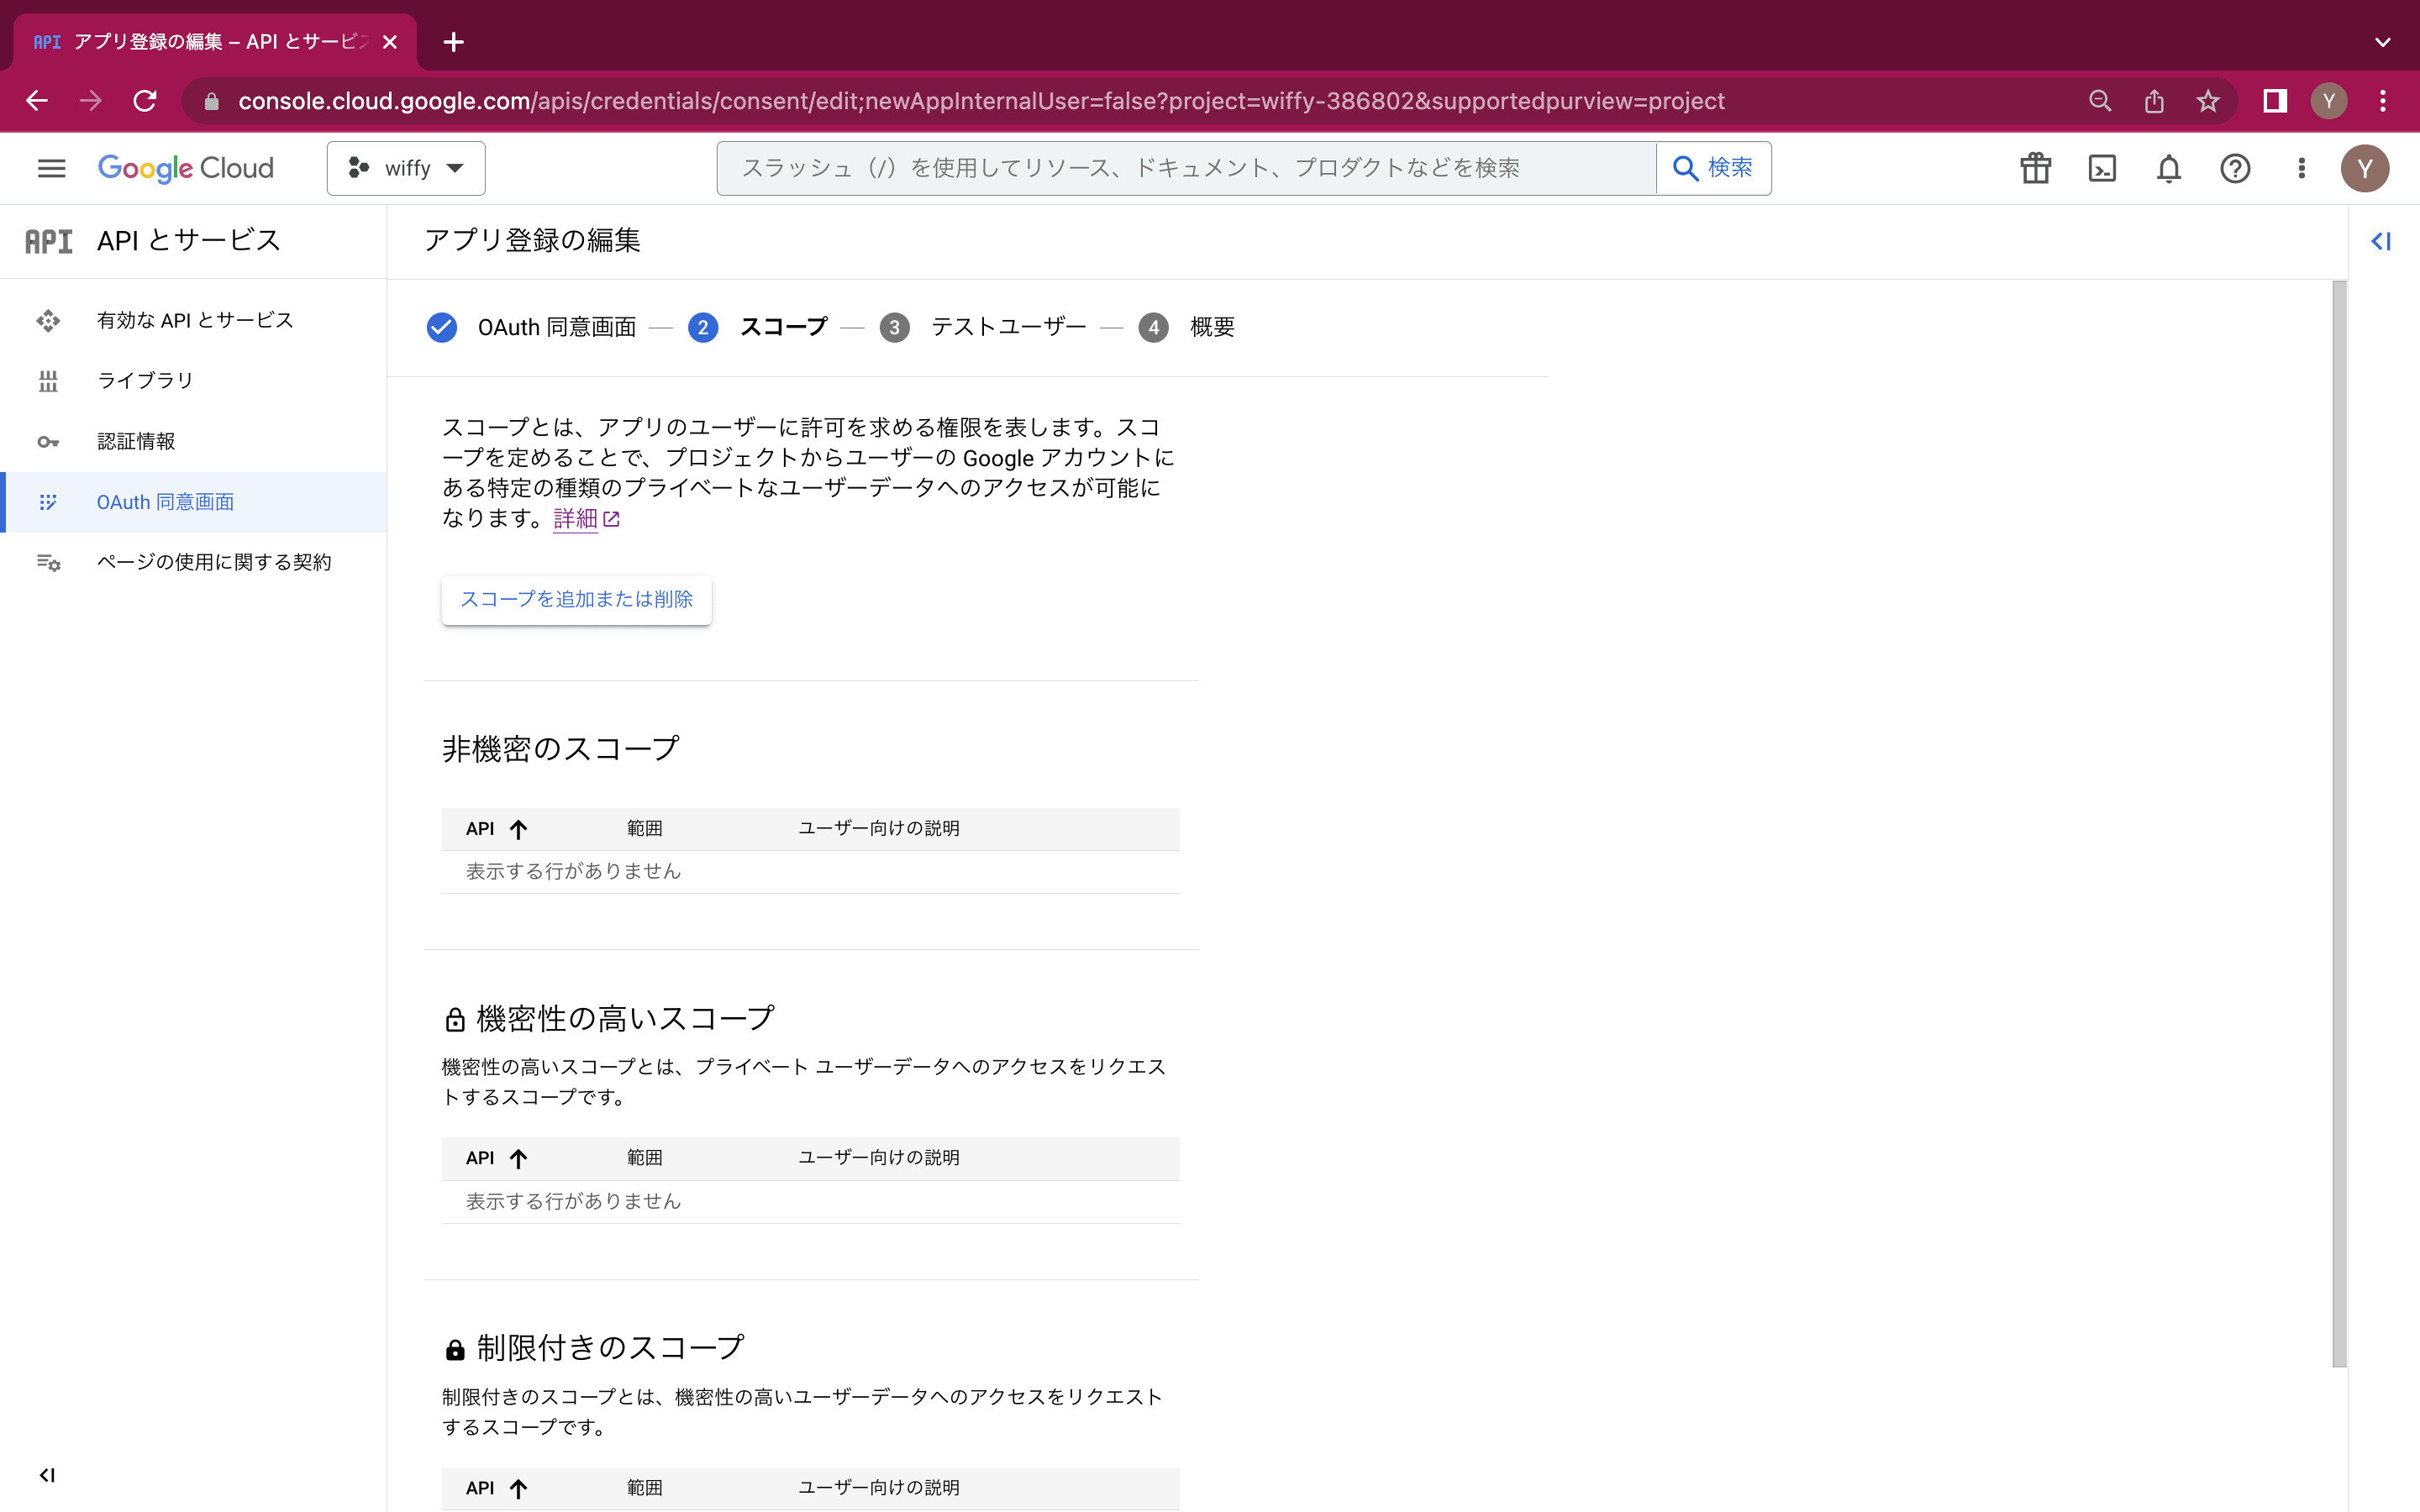
アプリ名 任意 ユーザーサポートメール ユーザーからの問い合わせ用 アプリのロゴ Webアプリ側と同じロゴイメージ アプリケーションのホームページ 当社指定のURL アプリケーションプライバシーポリシーリンク 当社指定のURL アプリケーション利用規約リンク 当社指定のURL 承認済みドメイン 当社指定のドメイン デベロッパーの連絡先情報(メールアドレス) 組織の開発担当者のもの 「スコープ」追加するスコープはないため、「保存して次へ」
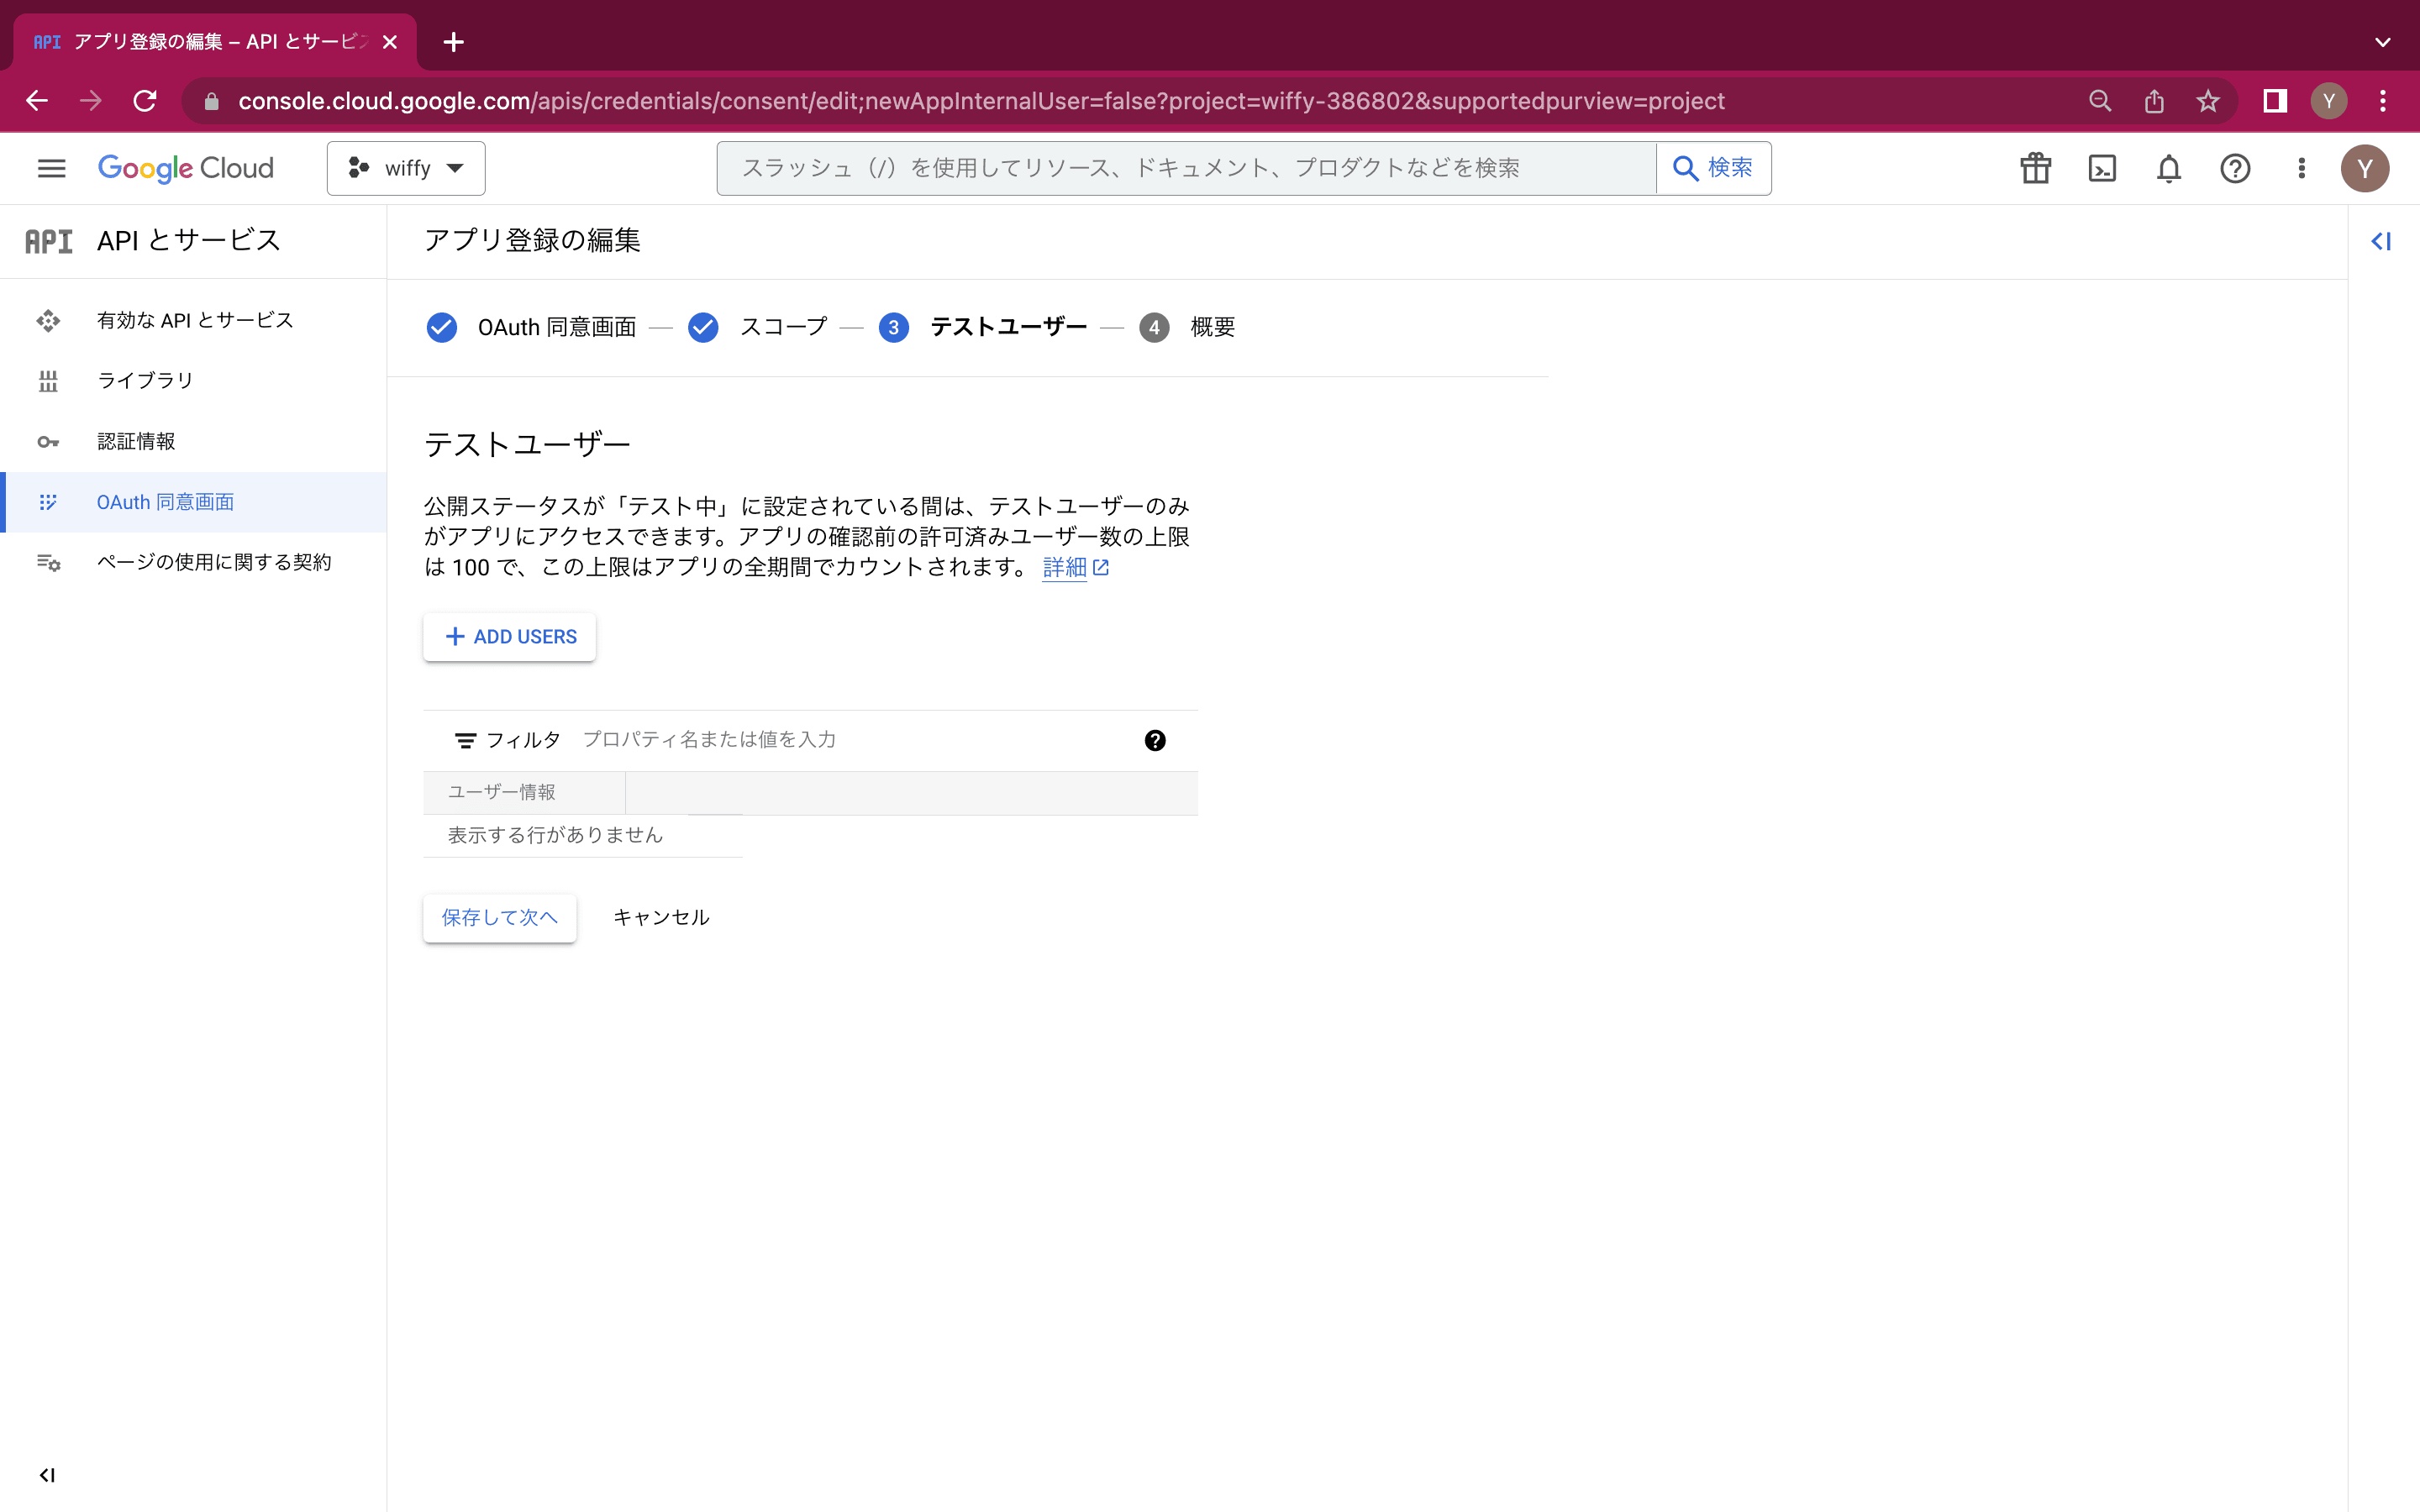
「テストユーザー」登録不要ですので、「保存して次へ」
「概要」内容を確認し、「ダッシュボードに戻る」 -
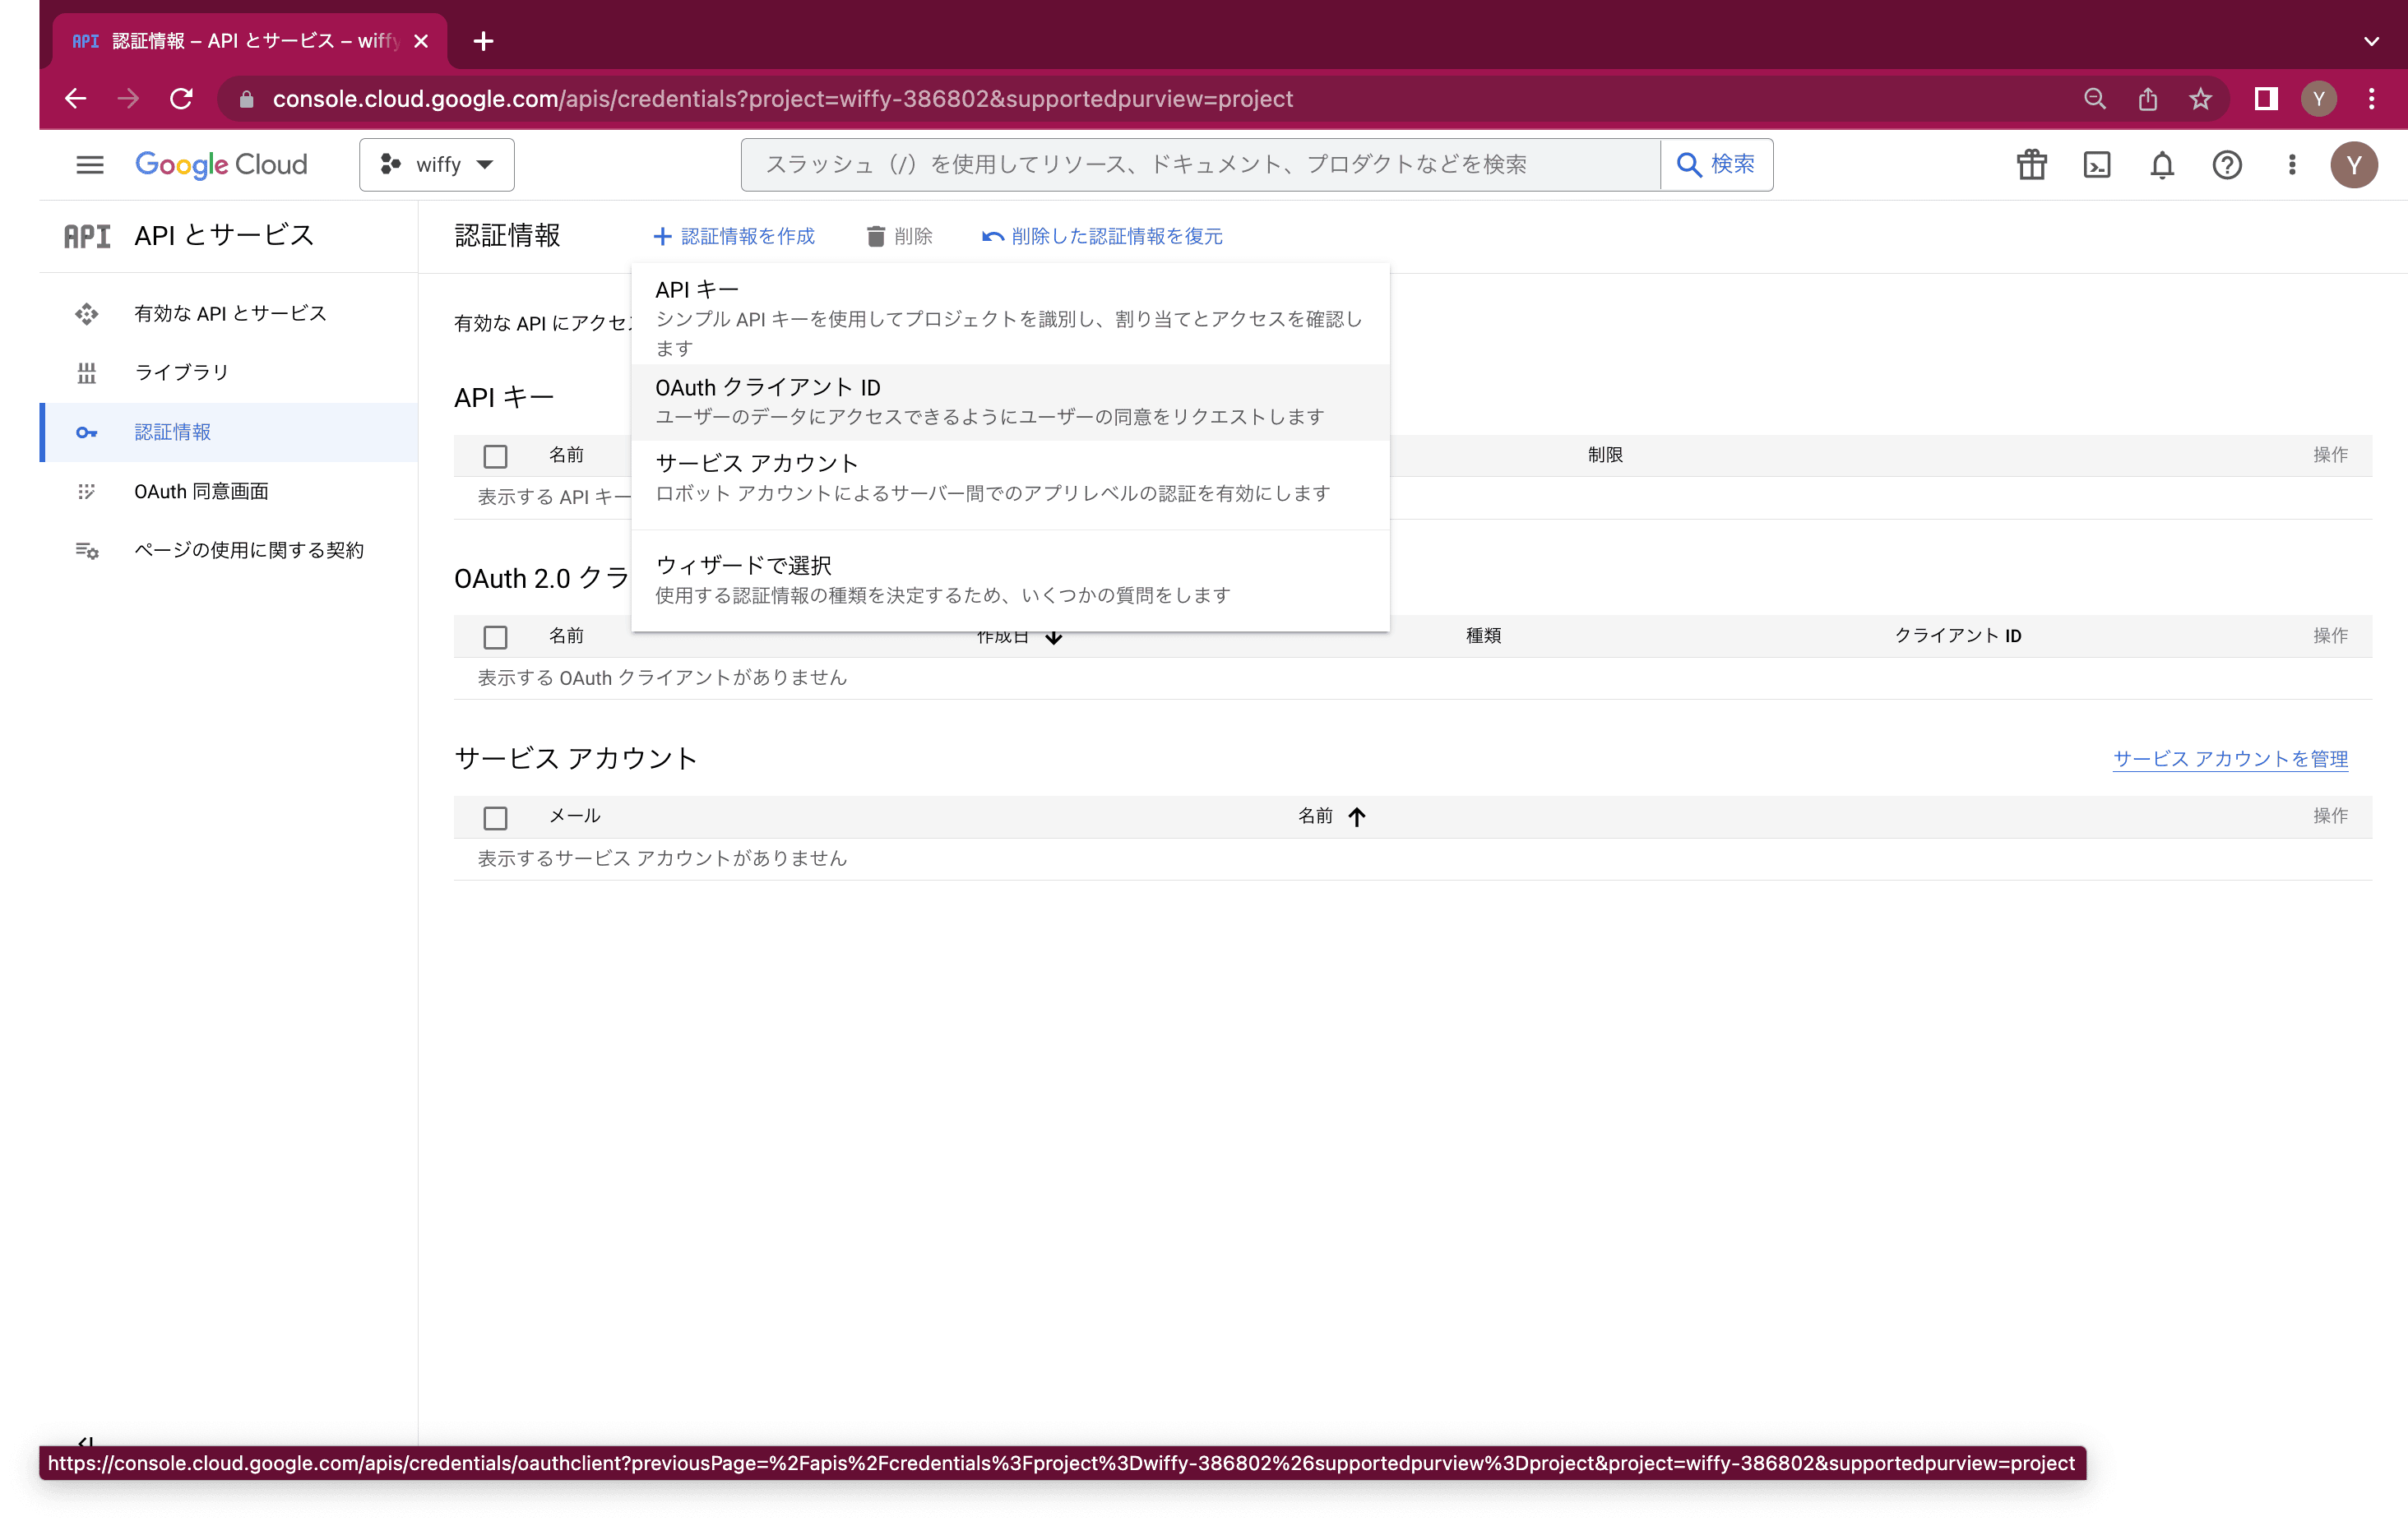
OAuthクライアントIDの発行
「認証情報」「認証情報を作成」「OAuthクライアントID」をクリックします。
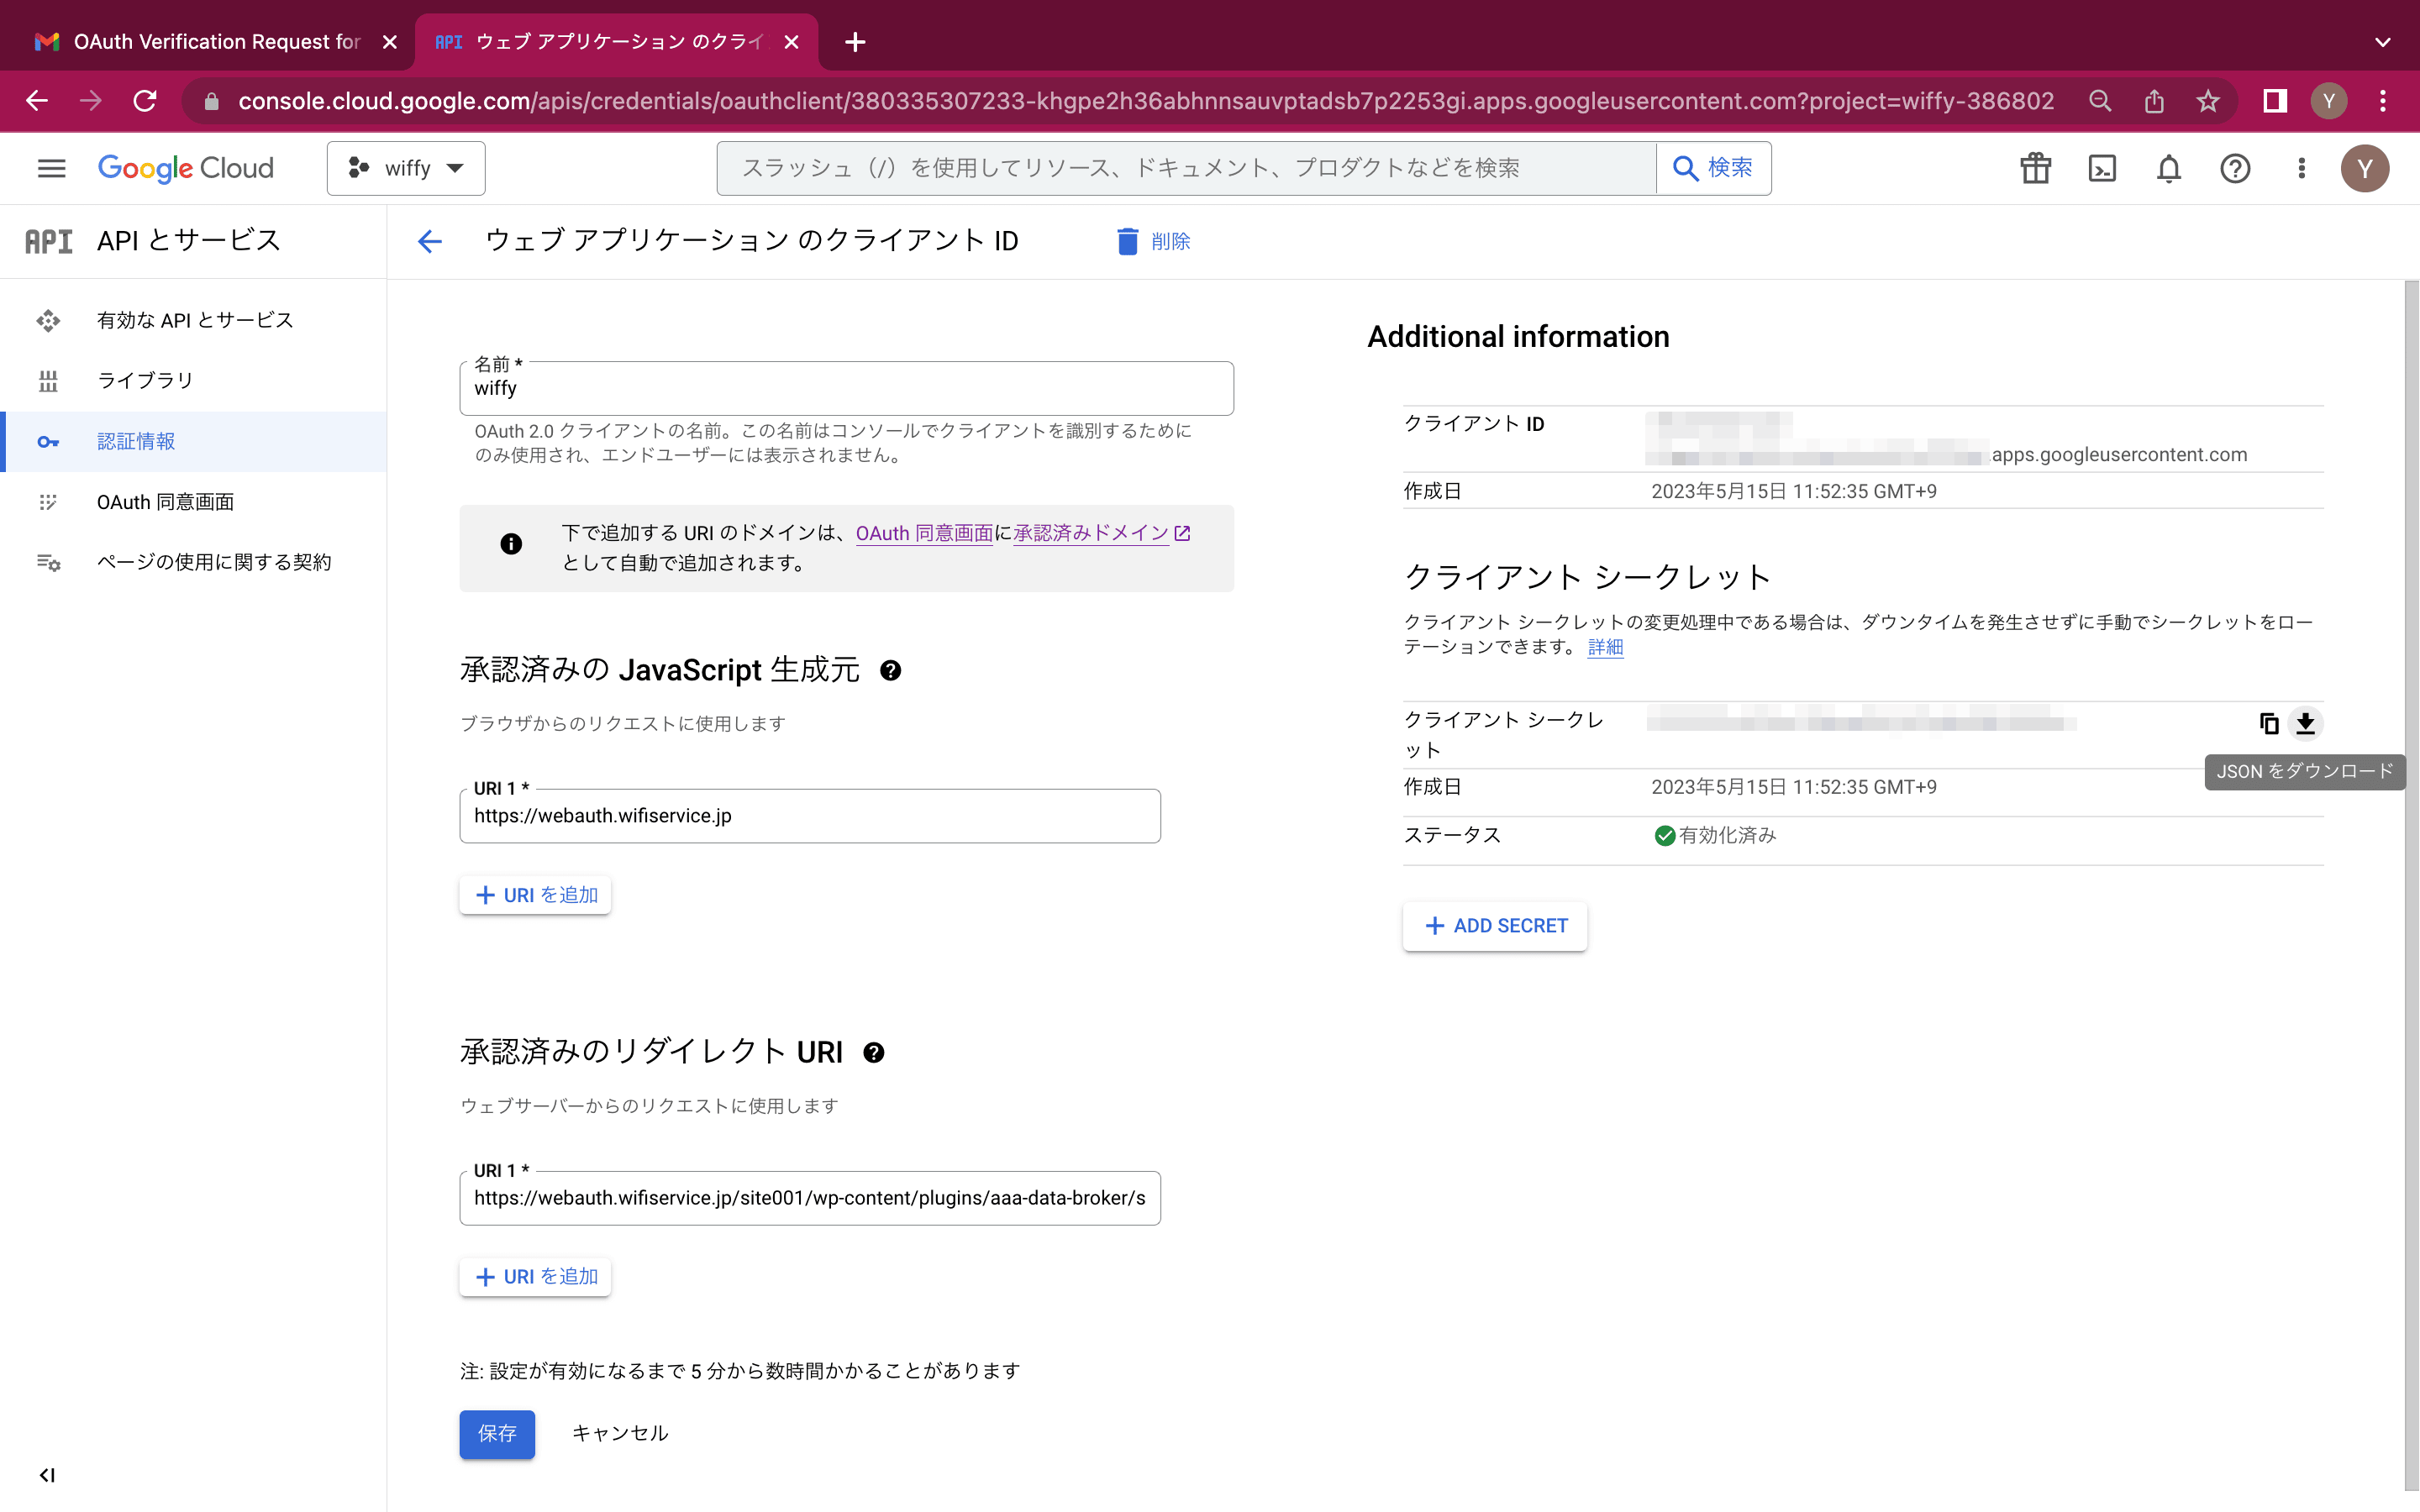
OAuth同意画面を構成する以下の項目を設定し「保存」します。
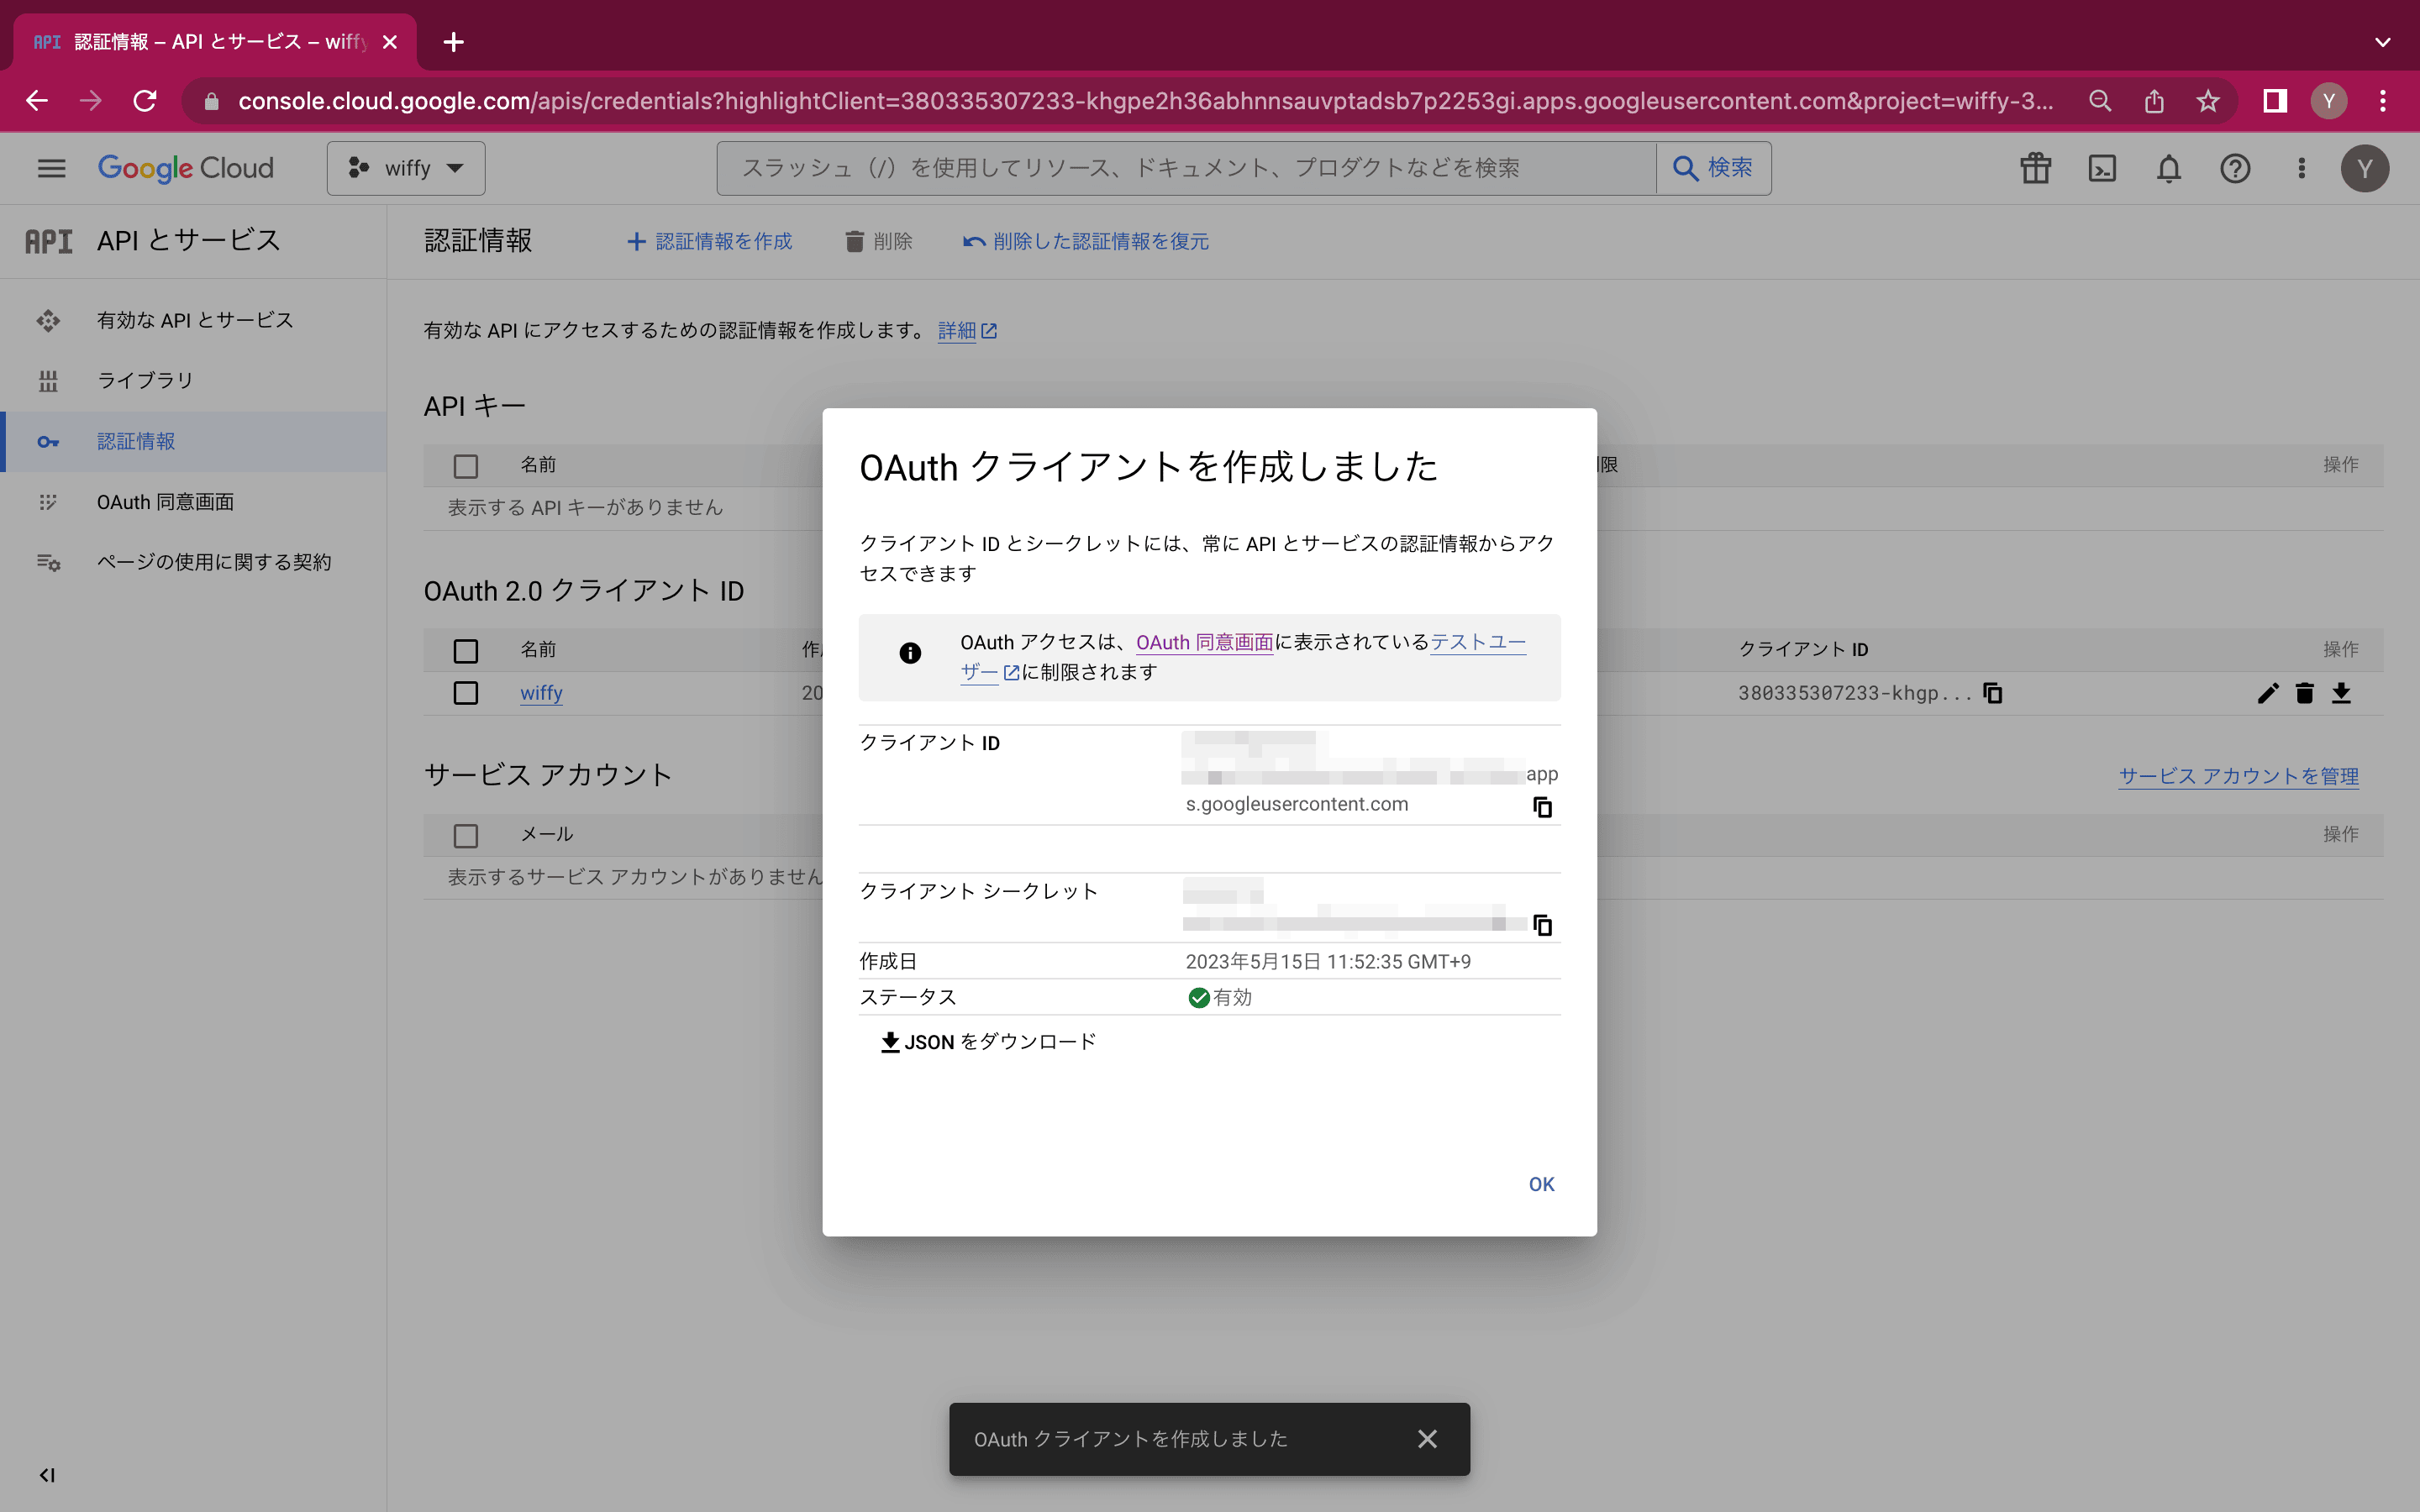
アプリケーションの種類 ウェブアプリケーション 名前 任意 承認済みのJavascript生成元のURL 当社指定のURL 承認済みのリダイレクトURL 当社指定のURL その後「OAuthクライアントIDを作成しました」ポップアップ上で「JSONをダウンロード」し、当社にお送りください。
なお、ここでポップアップを閉じてしまっても、作成済み「OAuthクライアントID」をクリックすることでいつでもダウンロードできます。
-
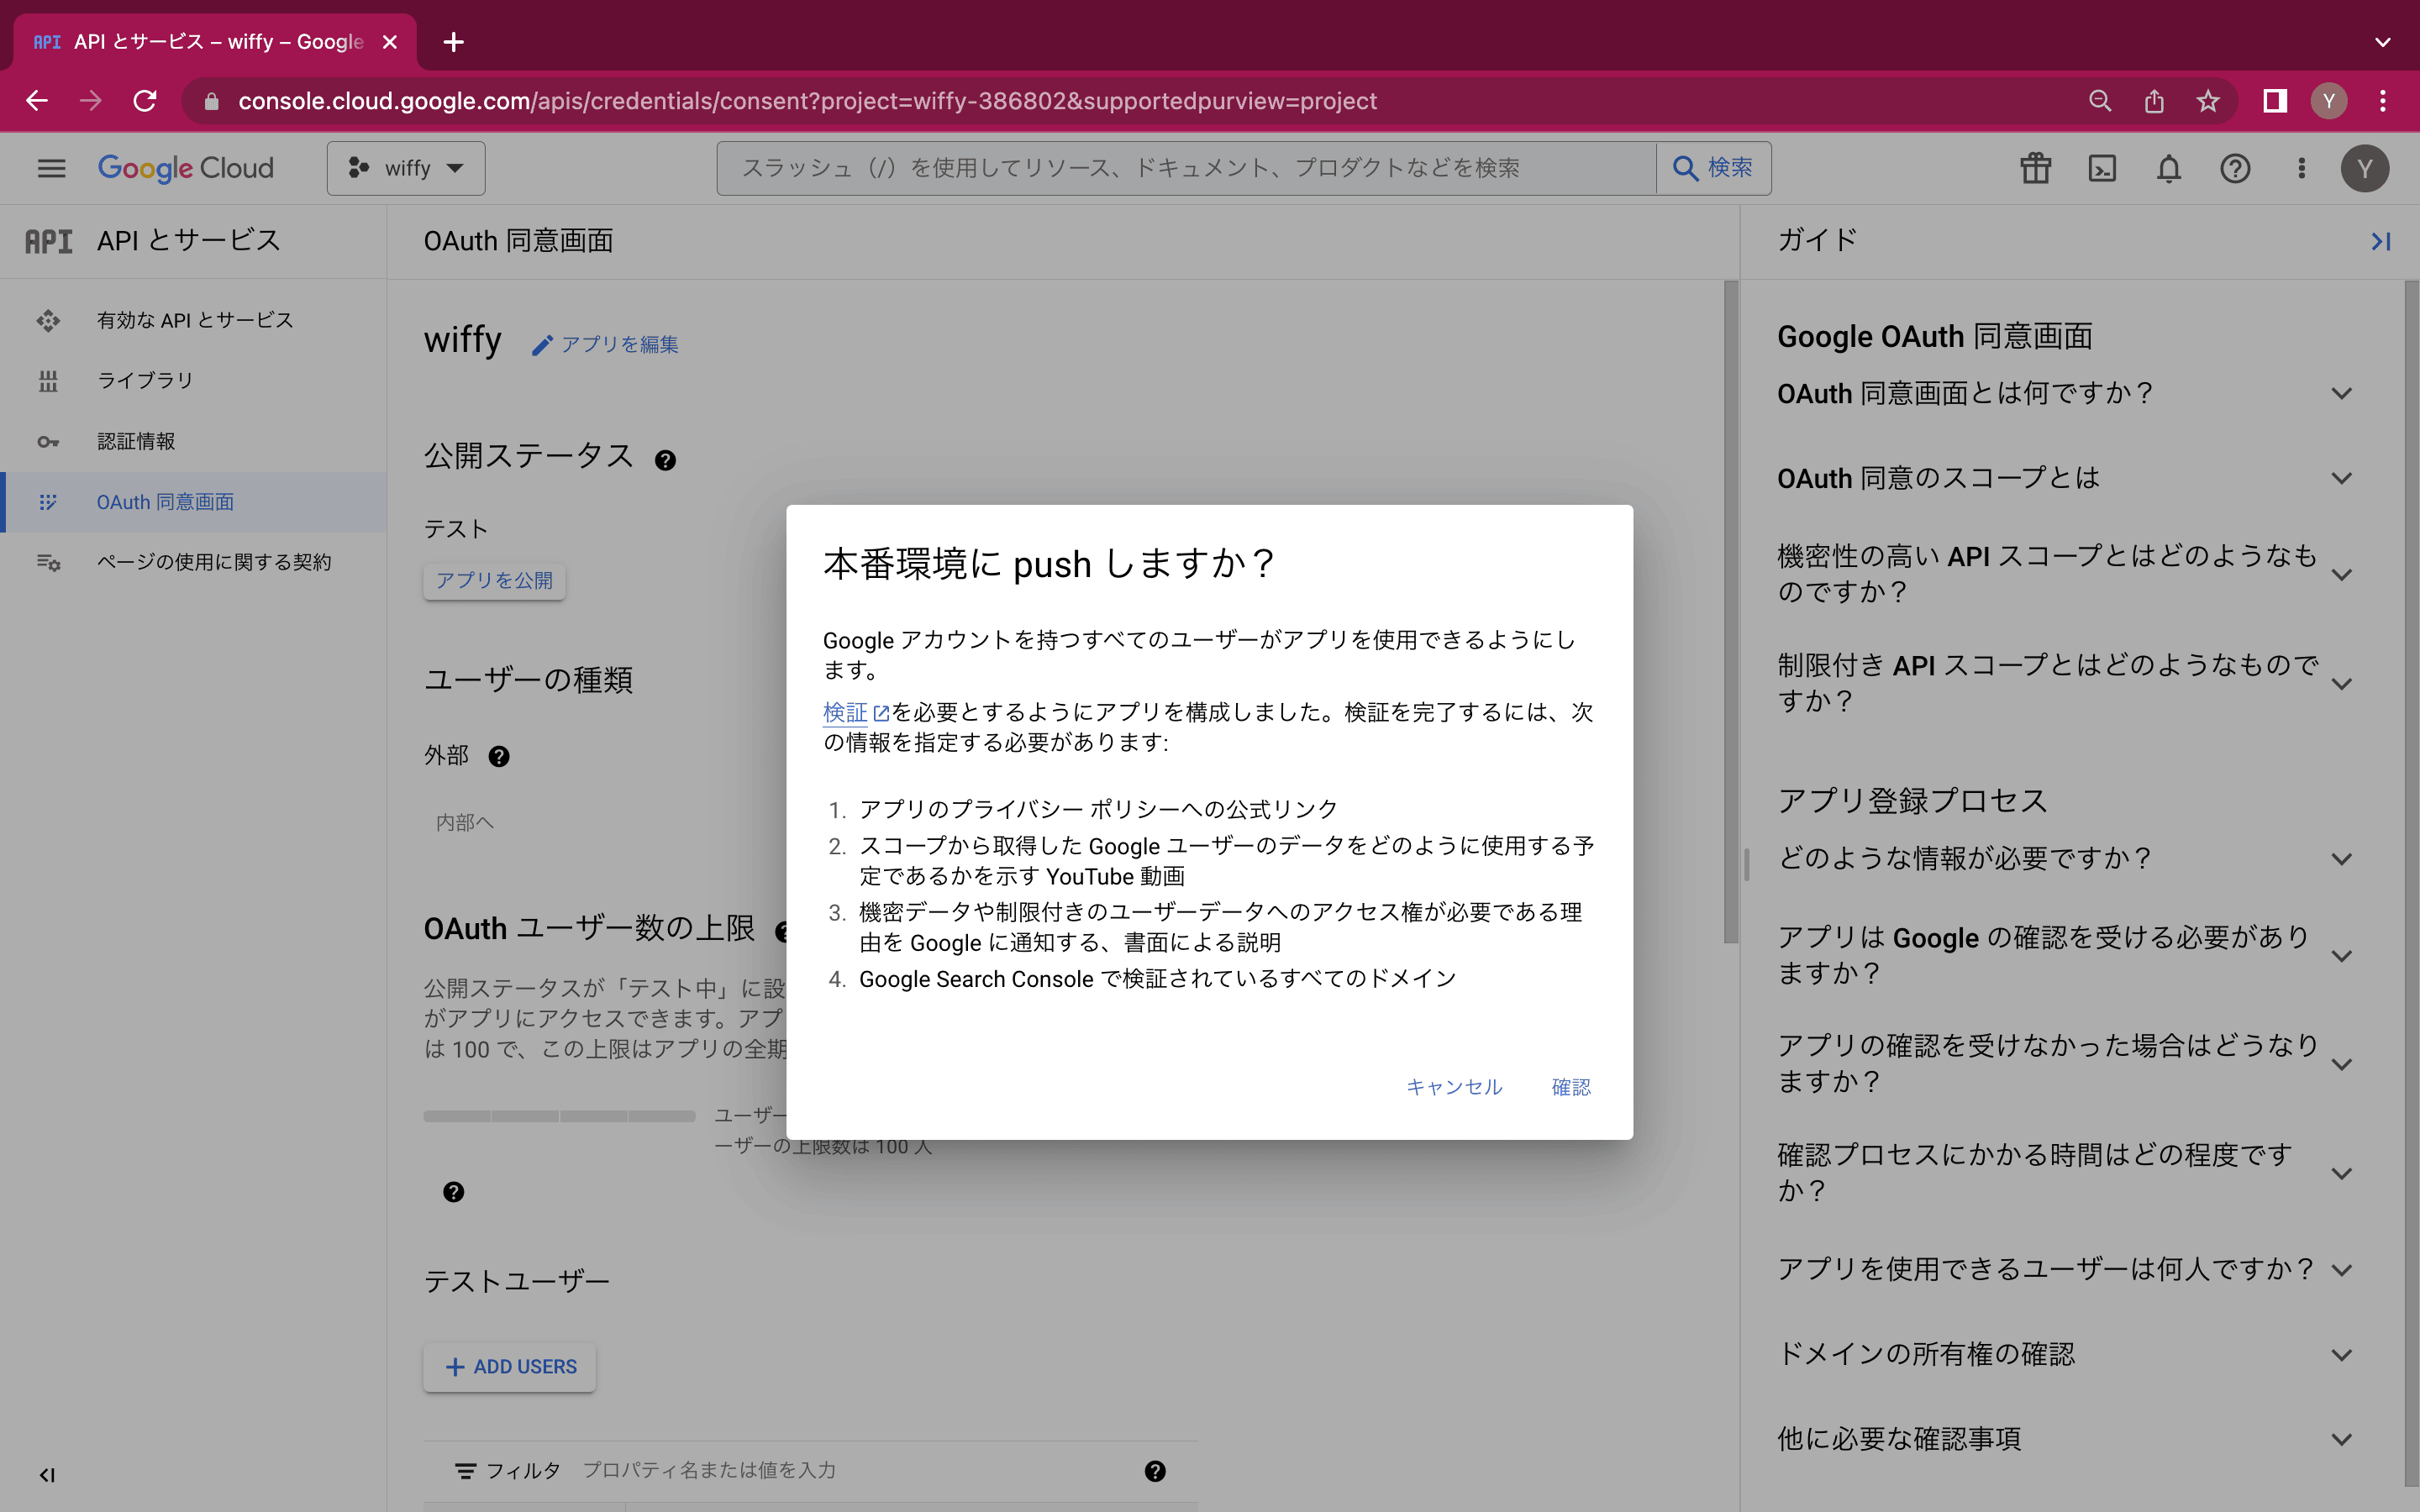
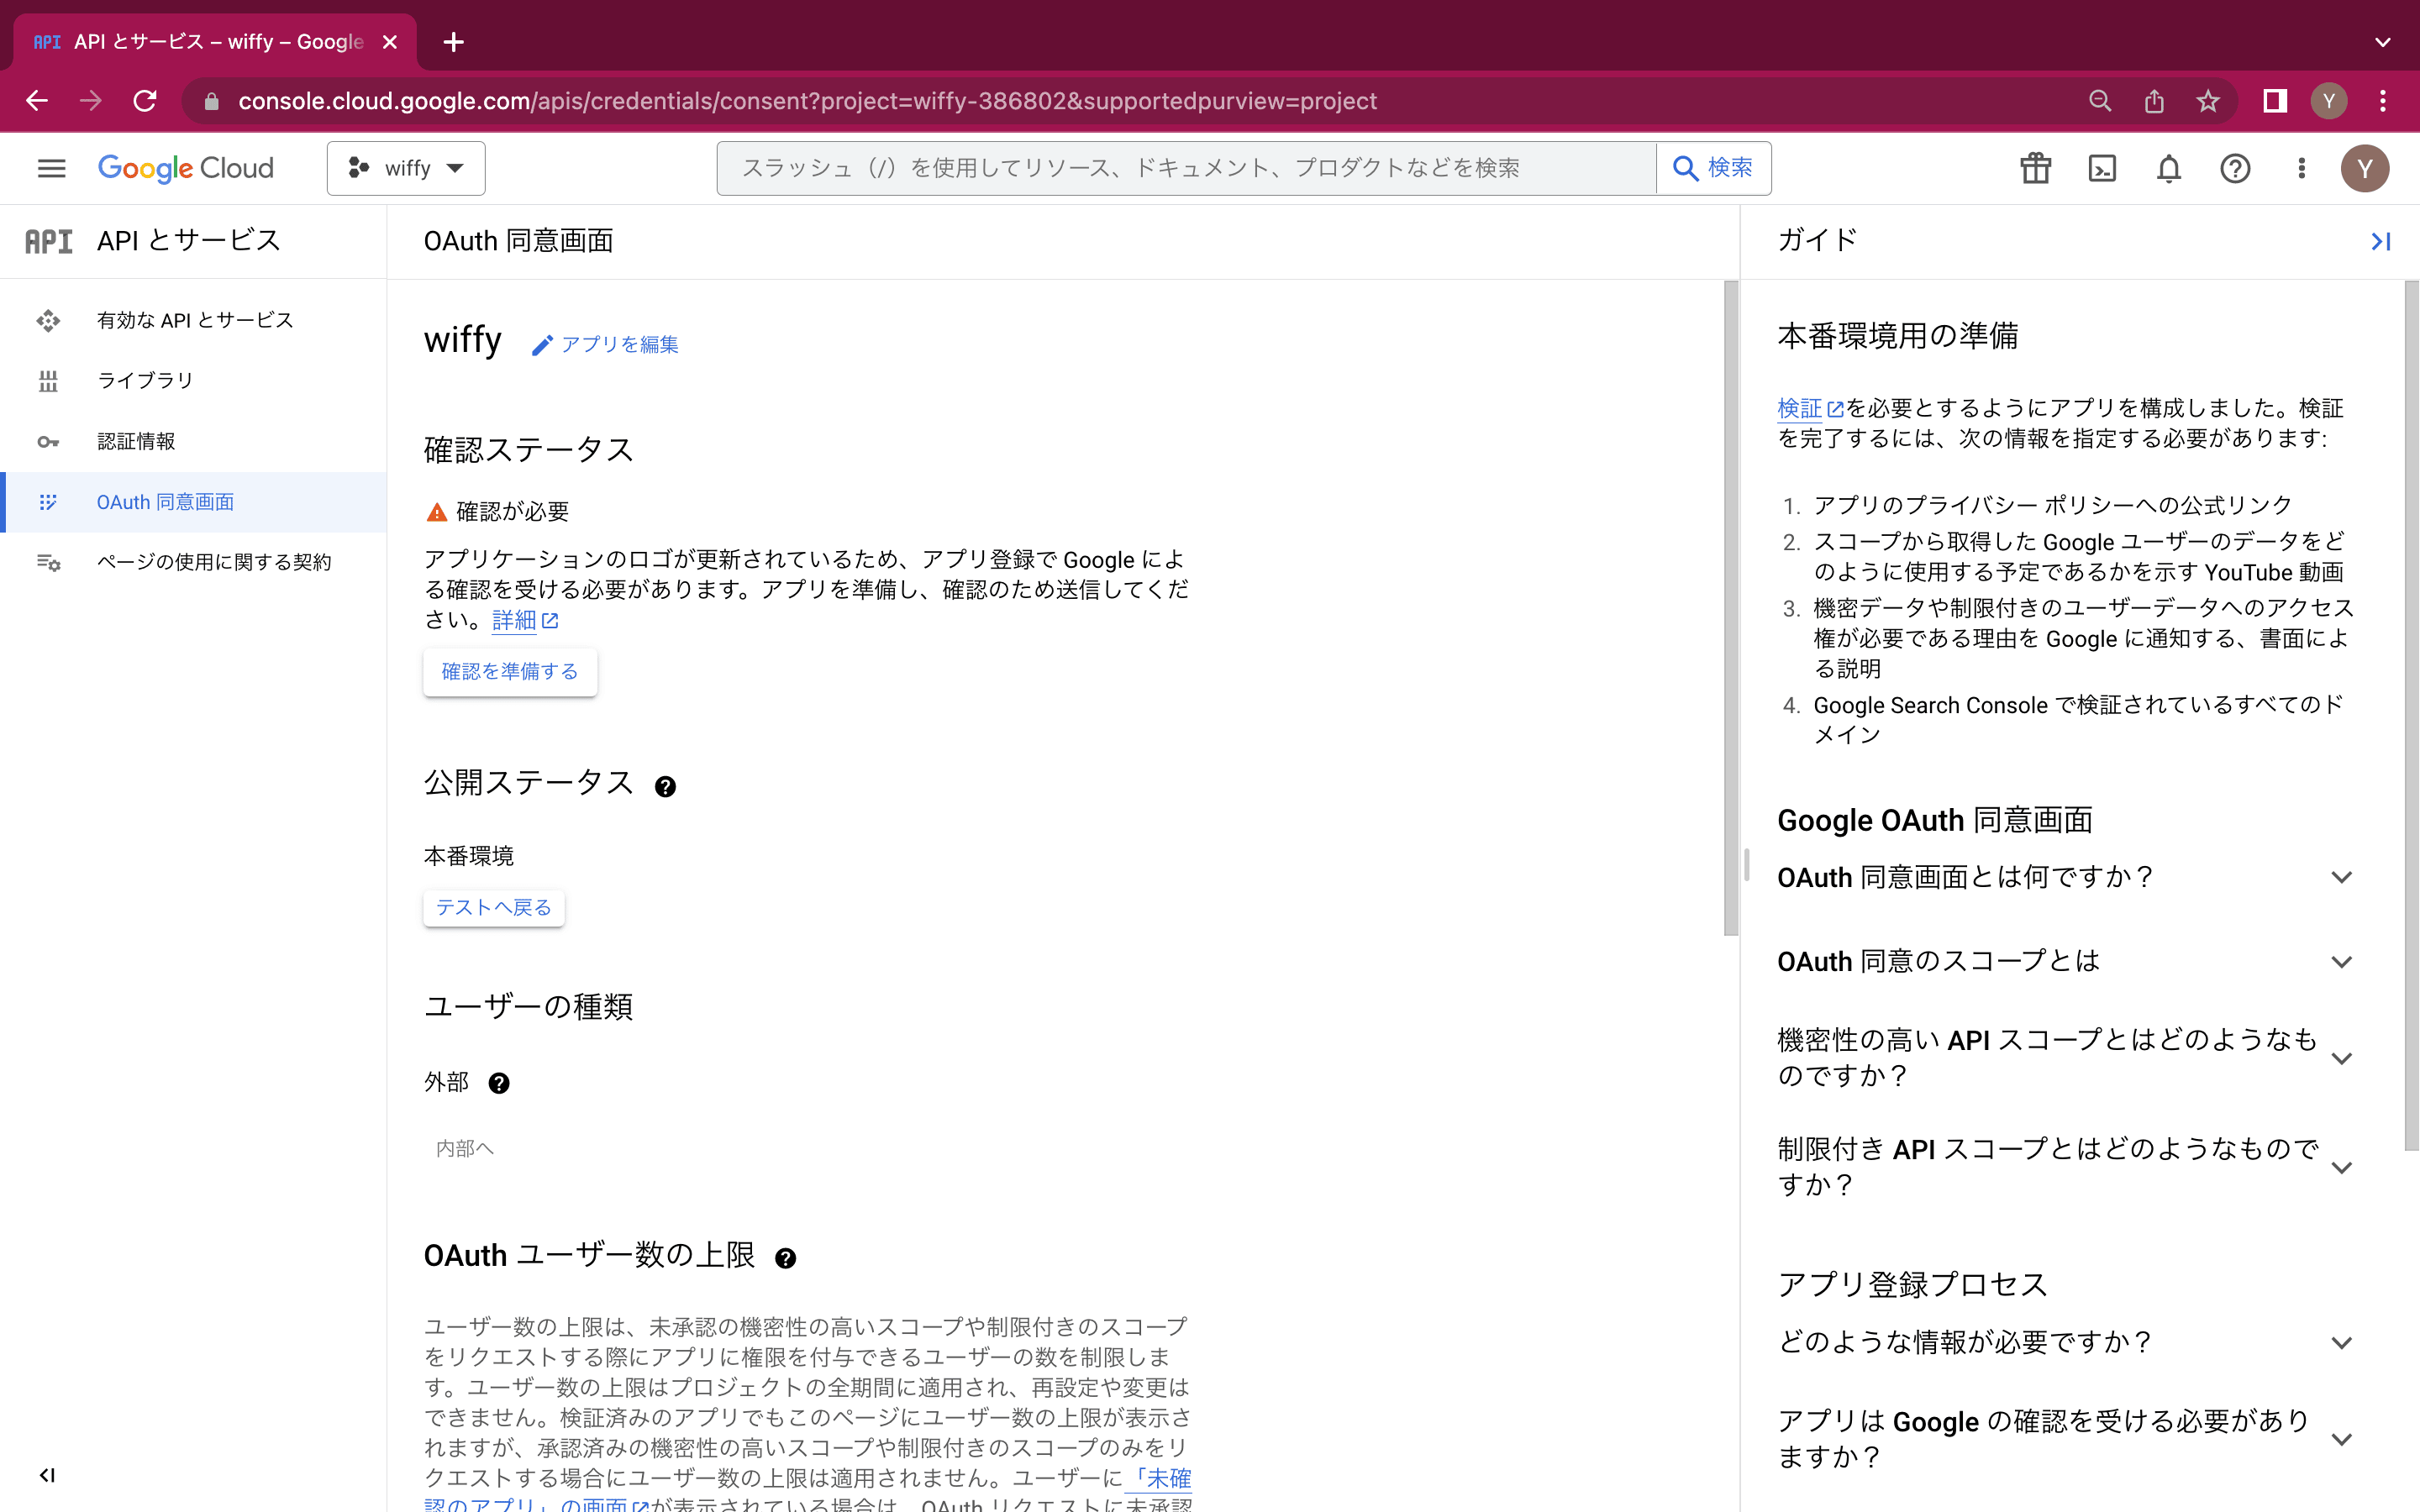
アプリを公開し検証を開始
「OAuth同意画面」に戻ります。
「アプリを公開」し、ポップアップの内容を「確認」します。
「確認を準備する」を押します。
「最終レビュー」までそのまま進み、遵守事項にチェックを入れて「確認のために送信」します。
-
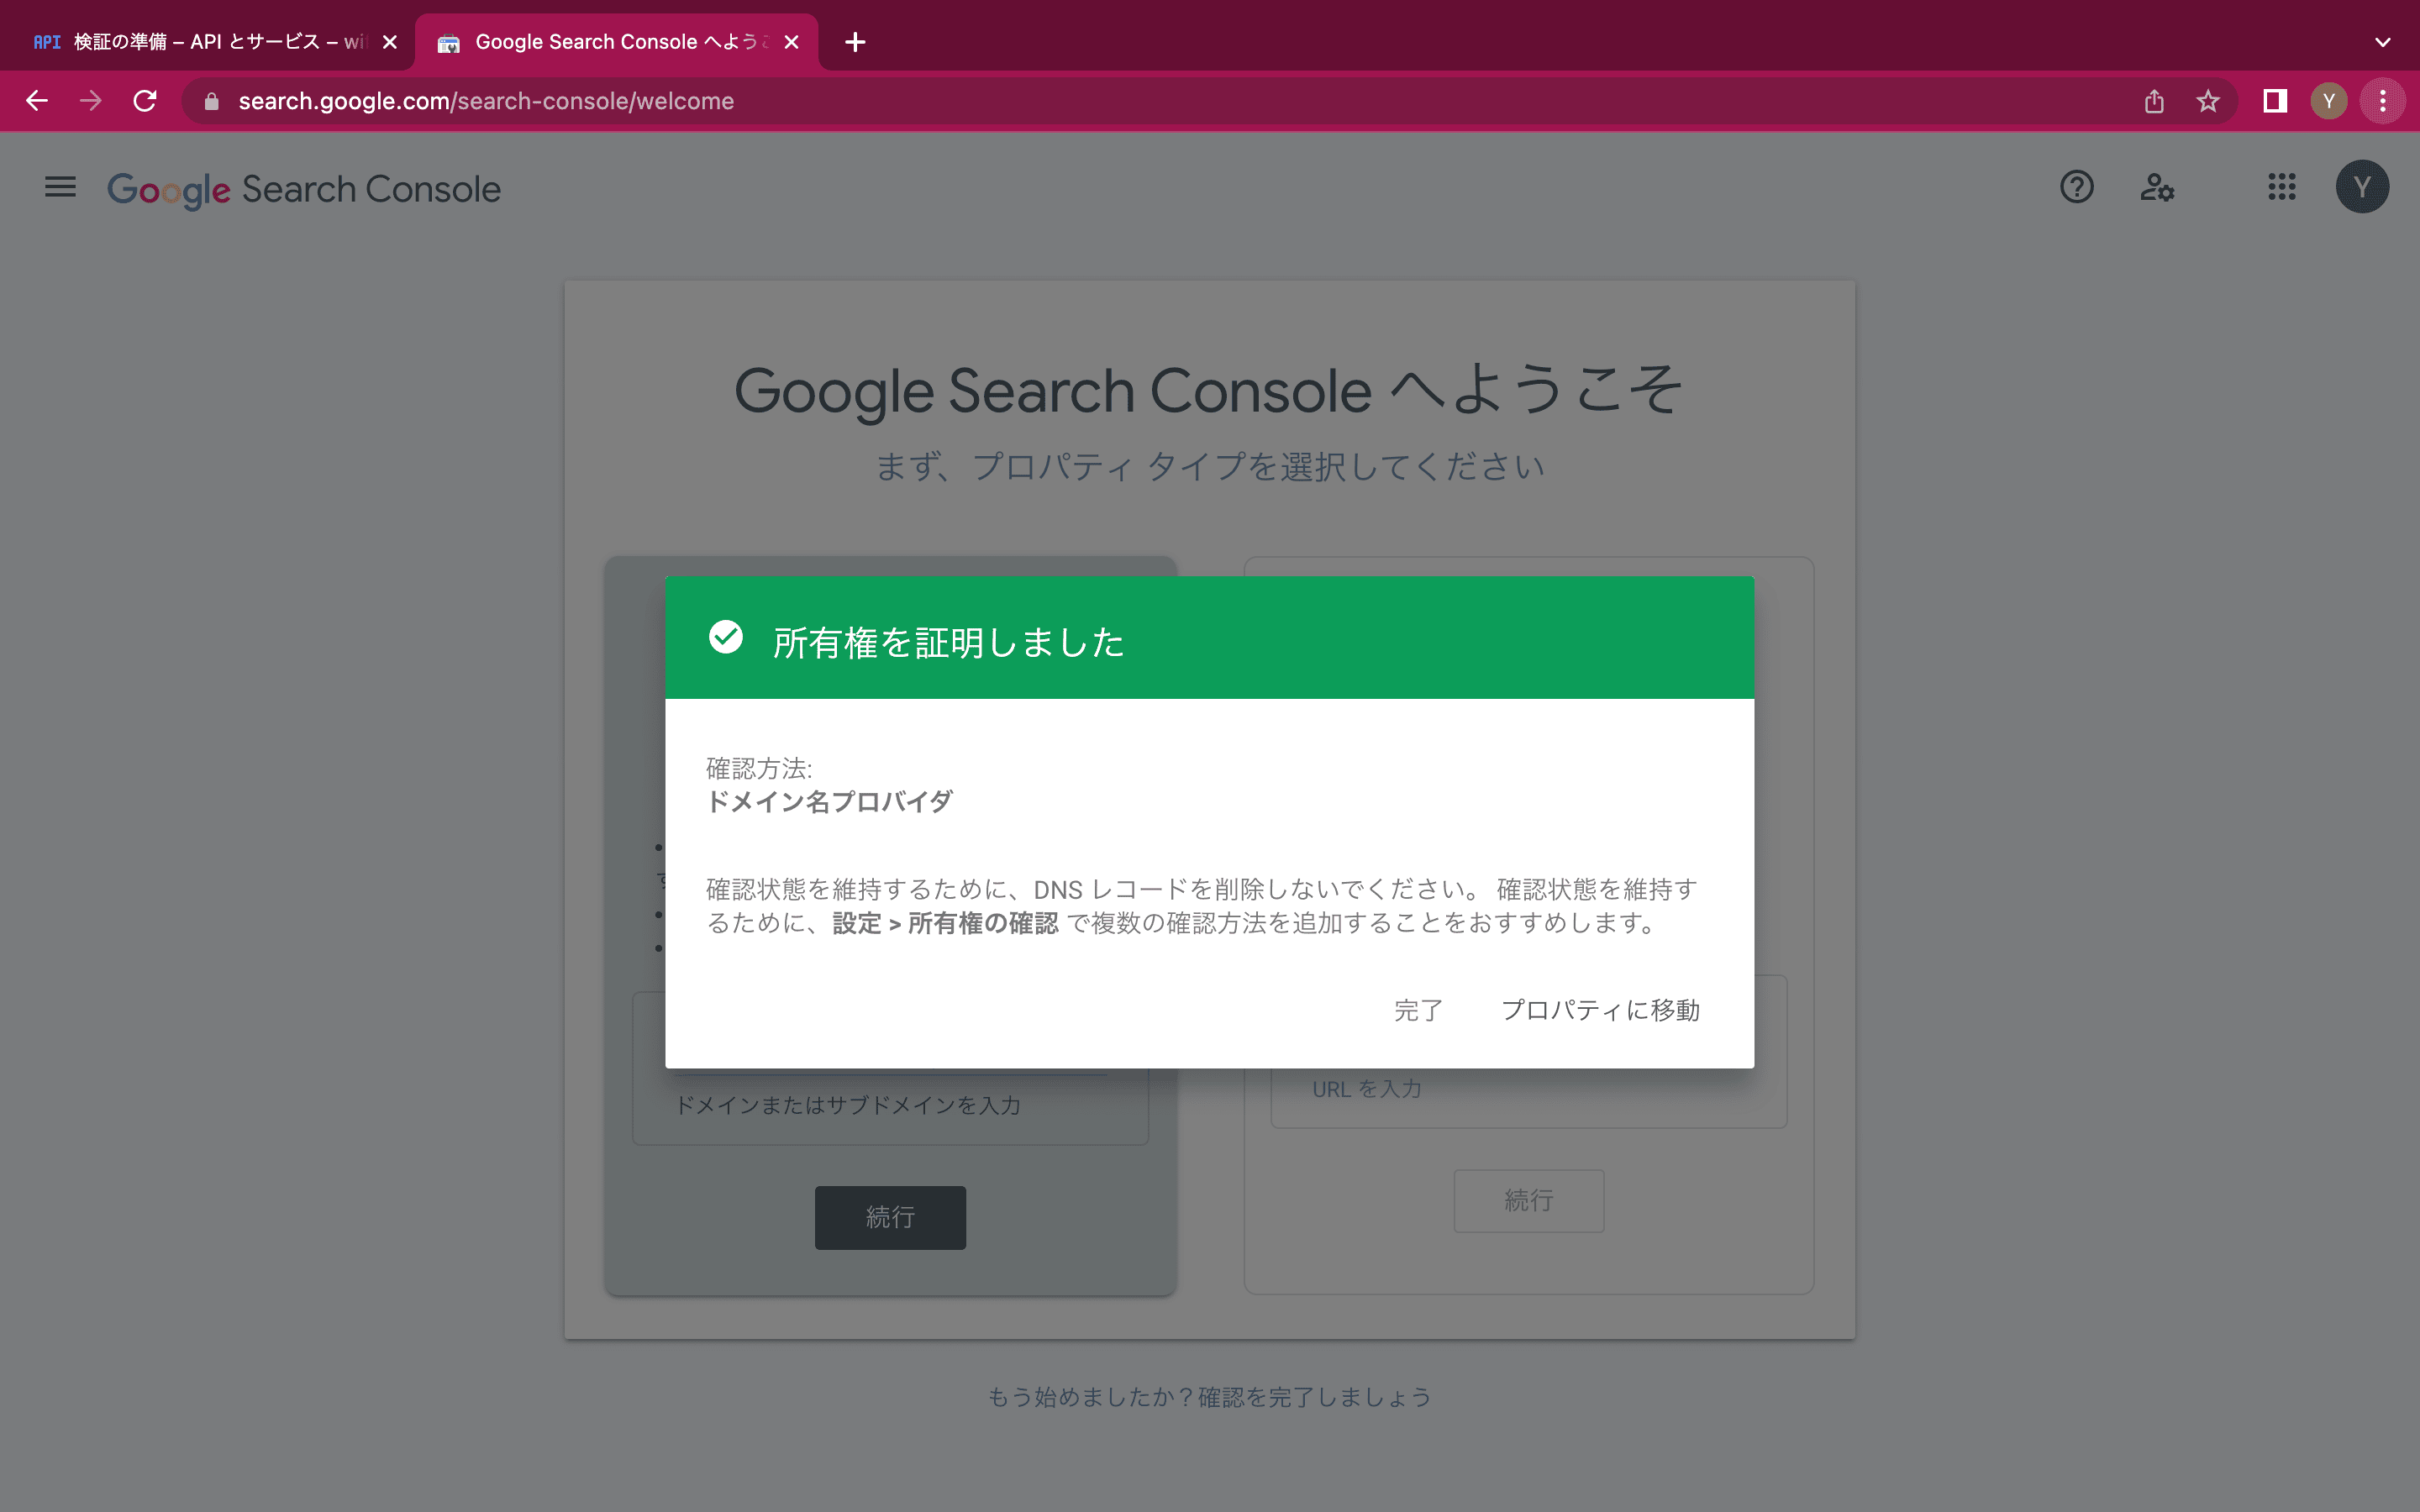
検証「ドメインの所有権」
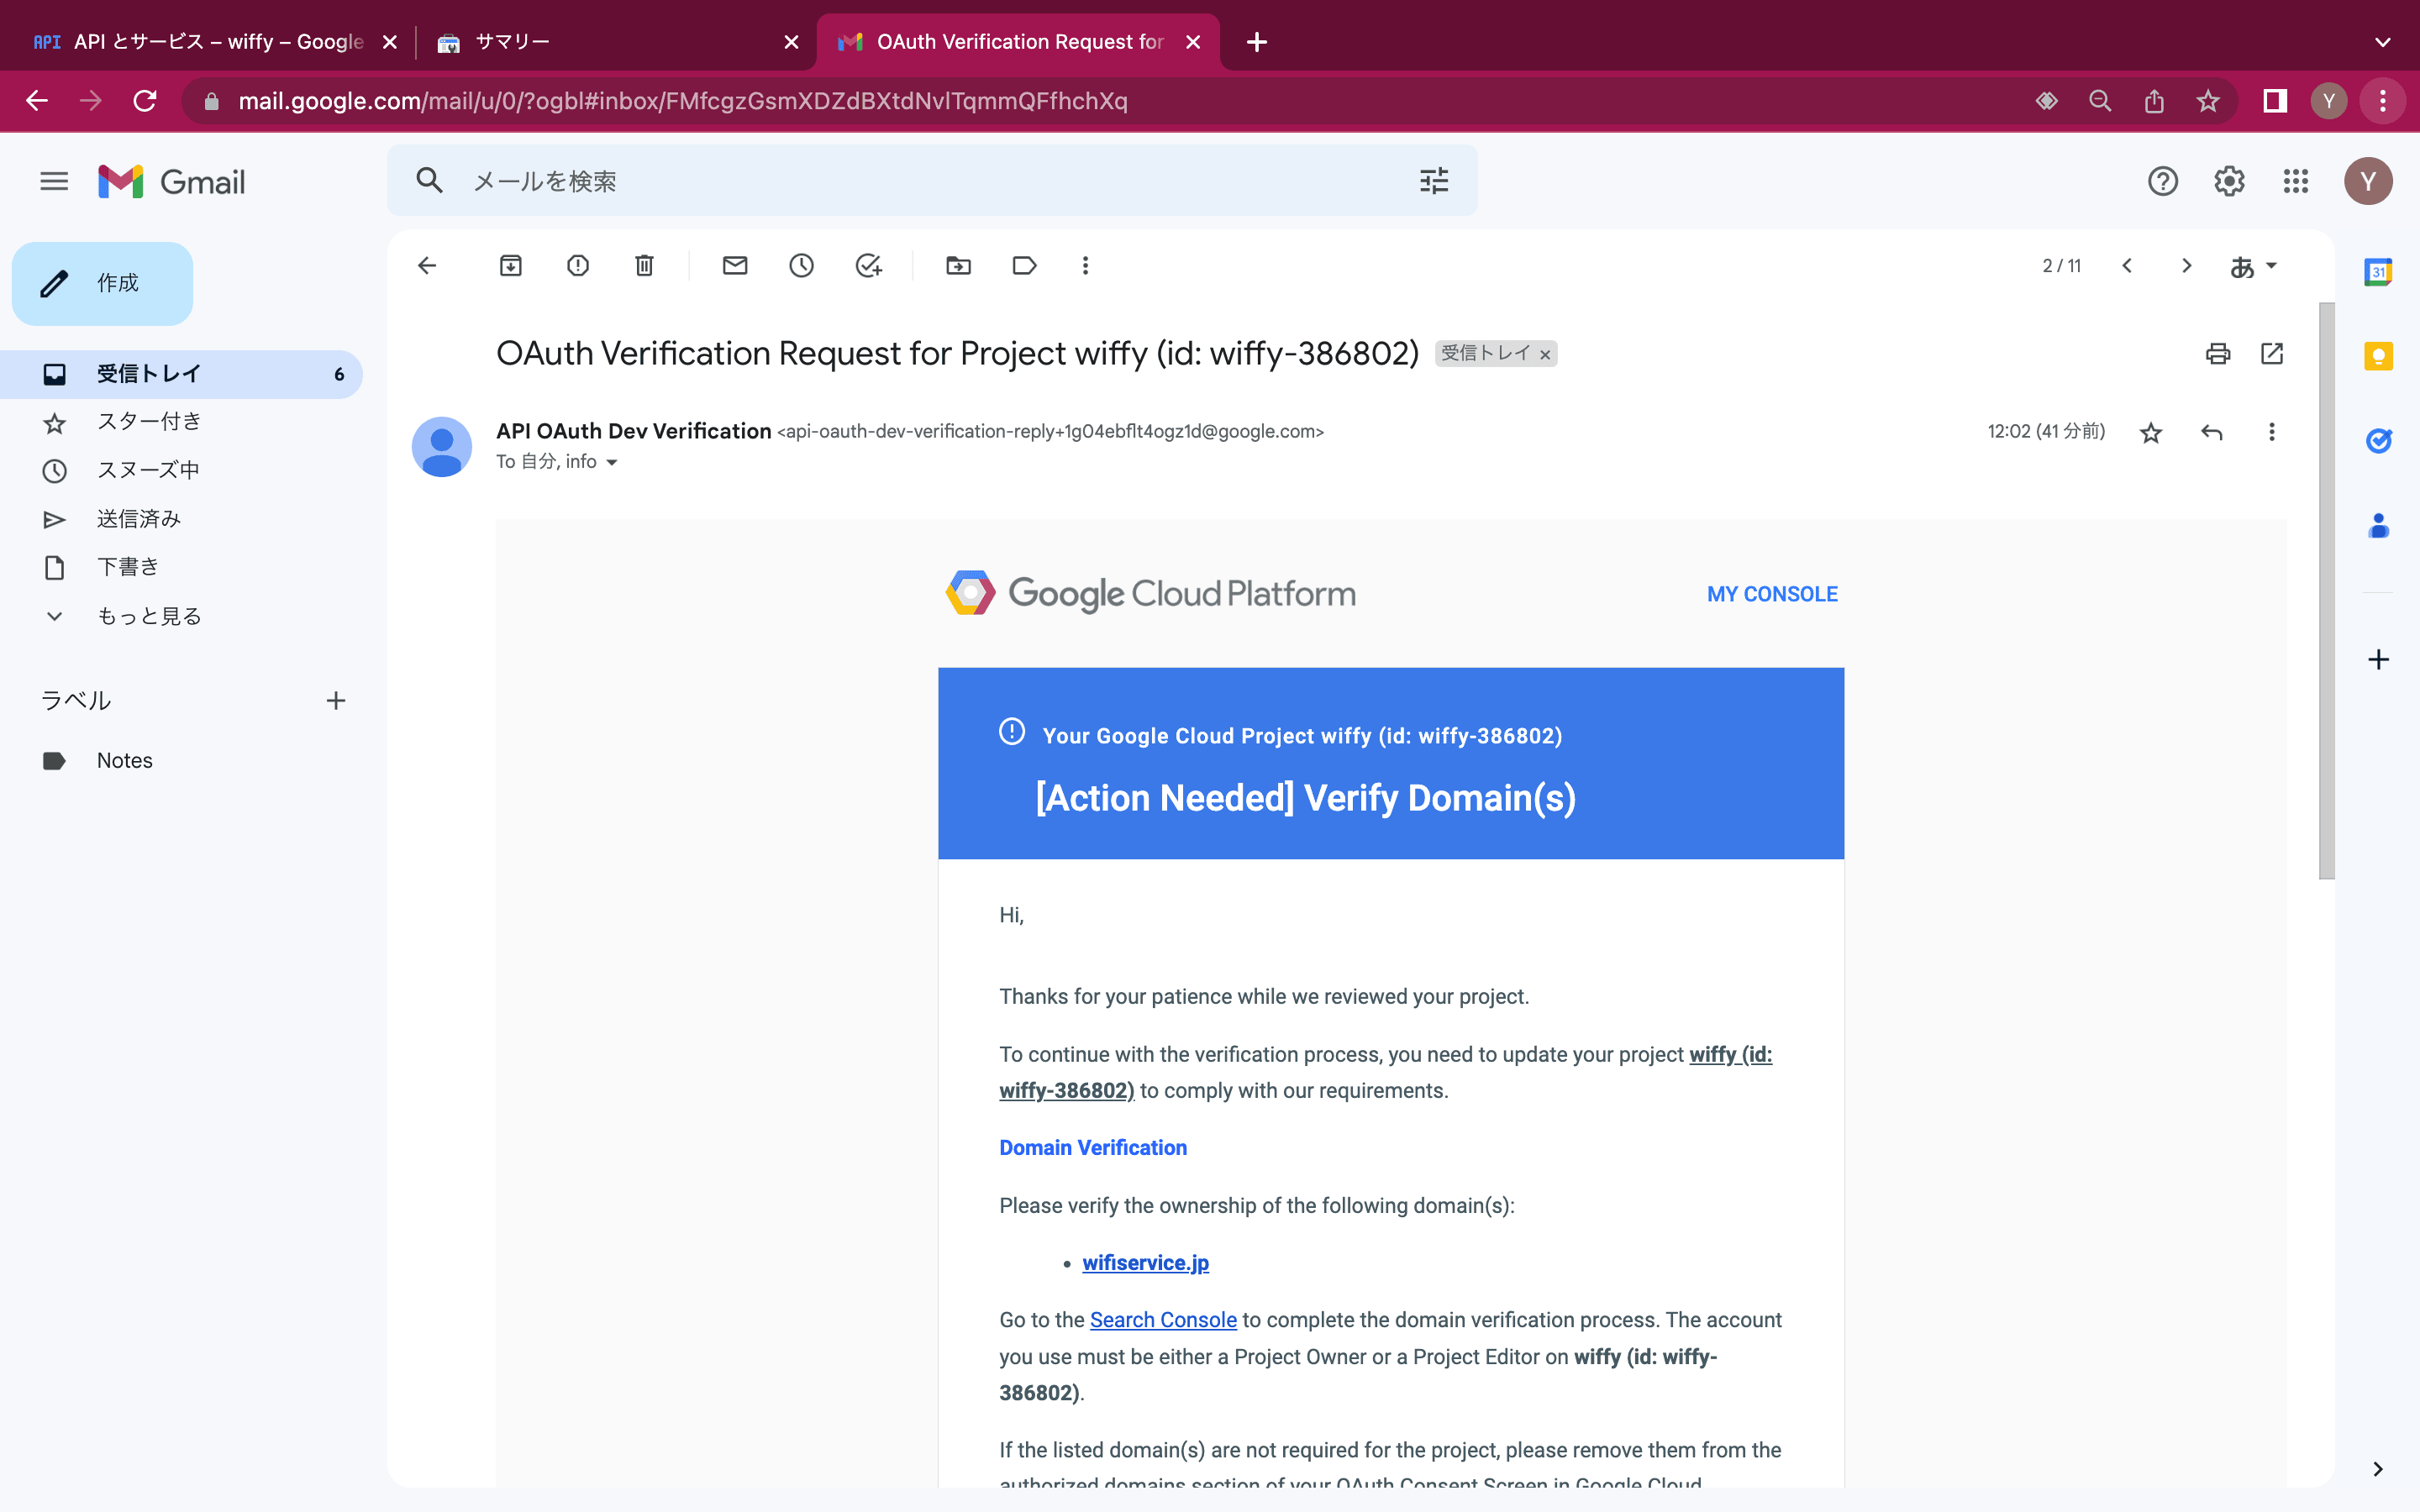
Google Cloud Platformより「OAuth Verification Request for Project ...」というタイトルのメールが来ます。
まずは、OAuthクライアントIDを使用するWebアプリケーションのドメイン所有権の検証を要求されるので、このURLにアクセスします。
初見では「プロパティタイプの選択」というポップアップが表示されるので、「ドメイン」タブを選択し、当社からご案内する文字列を入力し「続行」します。
「3.以下のTXTレコードを...」をクリップボードに「コピー」し、当社にお送りください。
当社側DNSサーバーにレコードを登録しますので、その後「確認」してください。「所有権を確認しました」と表示されたら「完了」です。
最後に、メールに対し、本アクション後の返信をします。
メール返信例
Hi,
Please verify the ownership of the following domain(s):
I've set the following code as a value in the TXT record of "webauth.wifiservice.jp".
"google-site-verification=****************"
Best Regards,
-
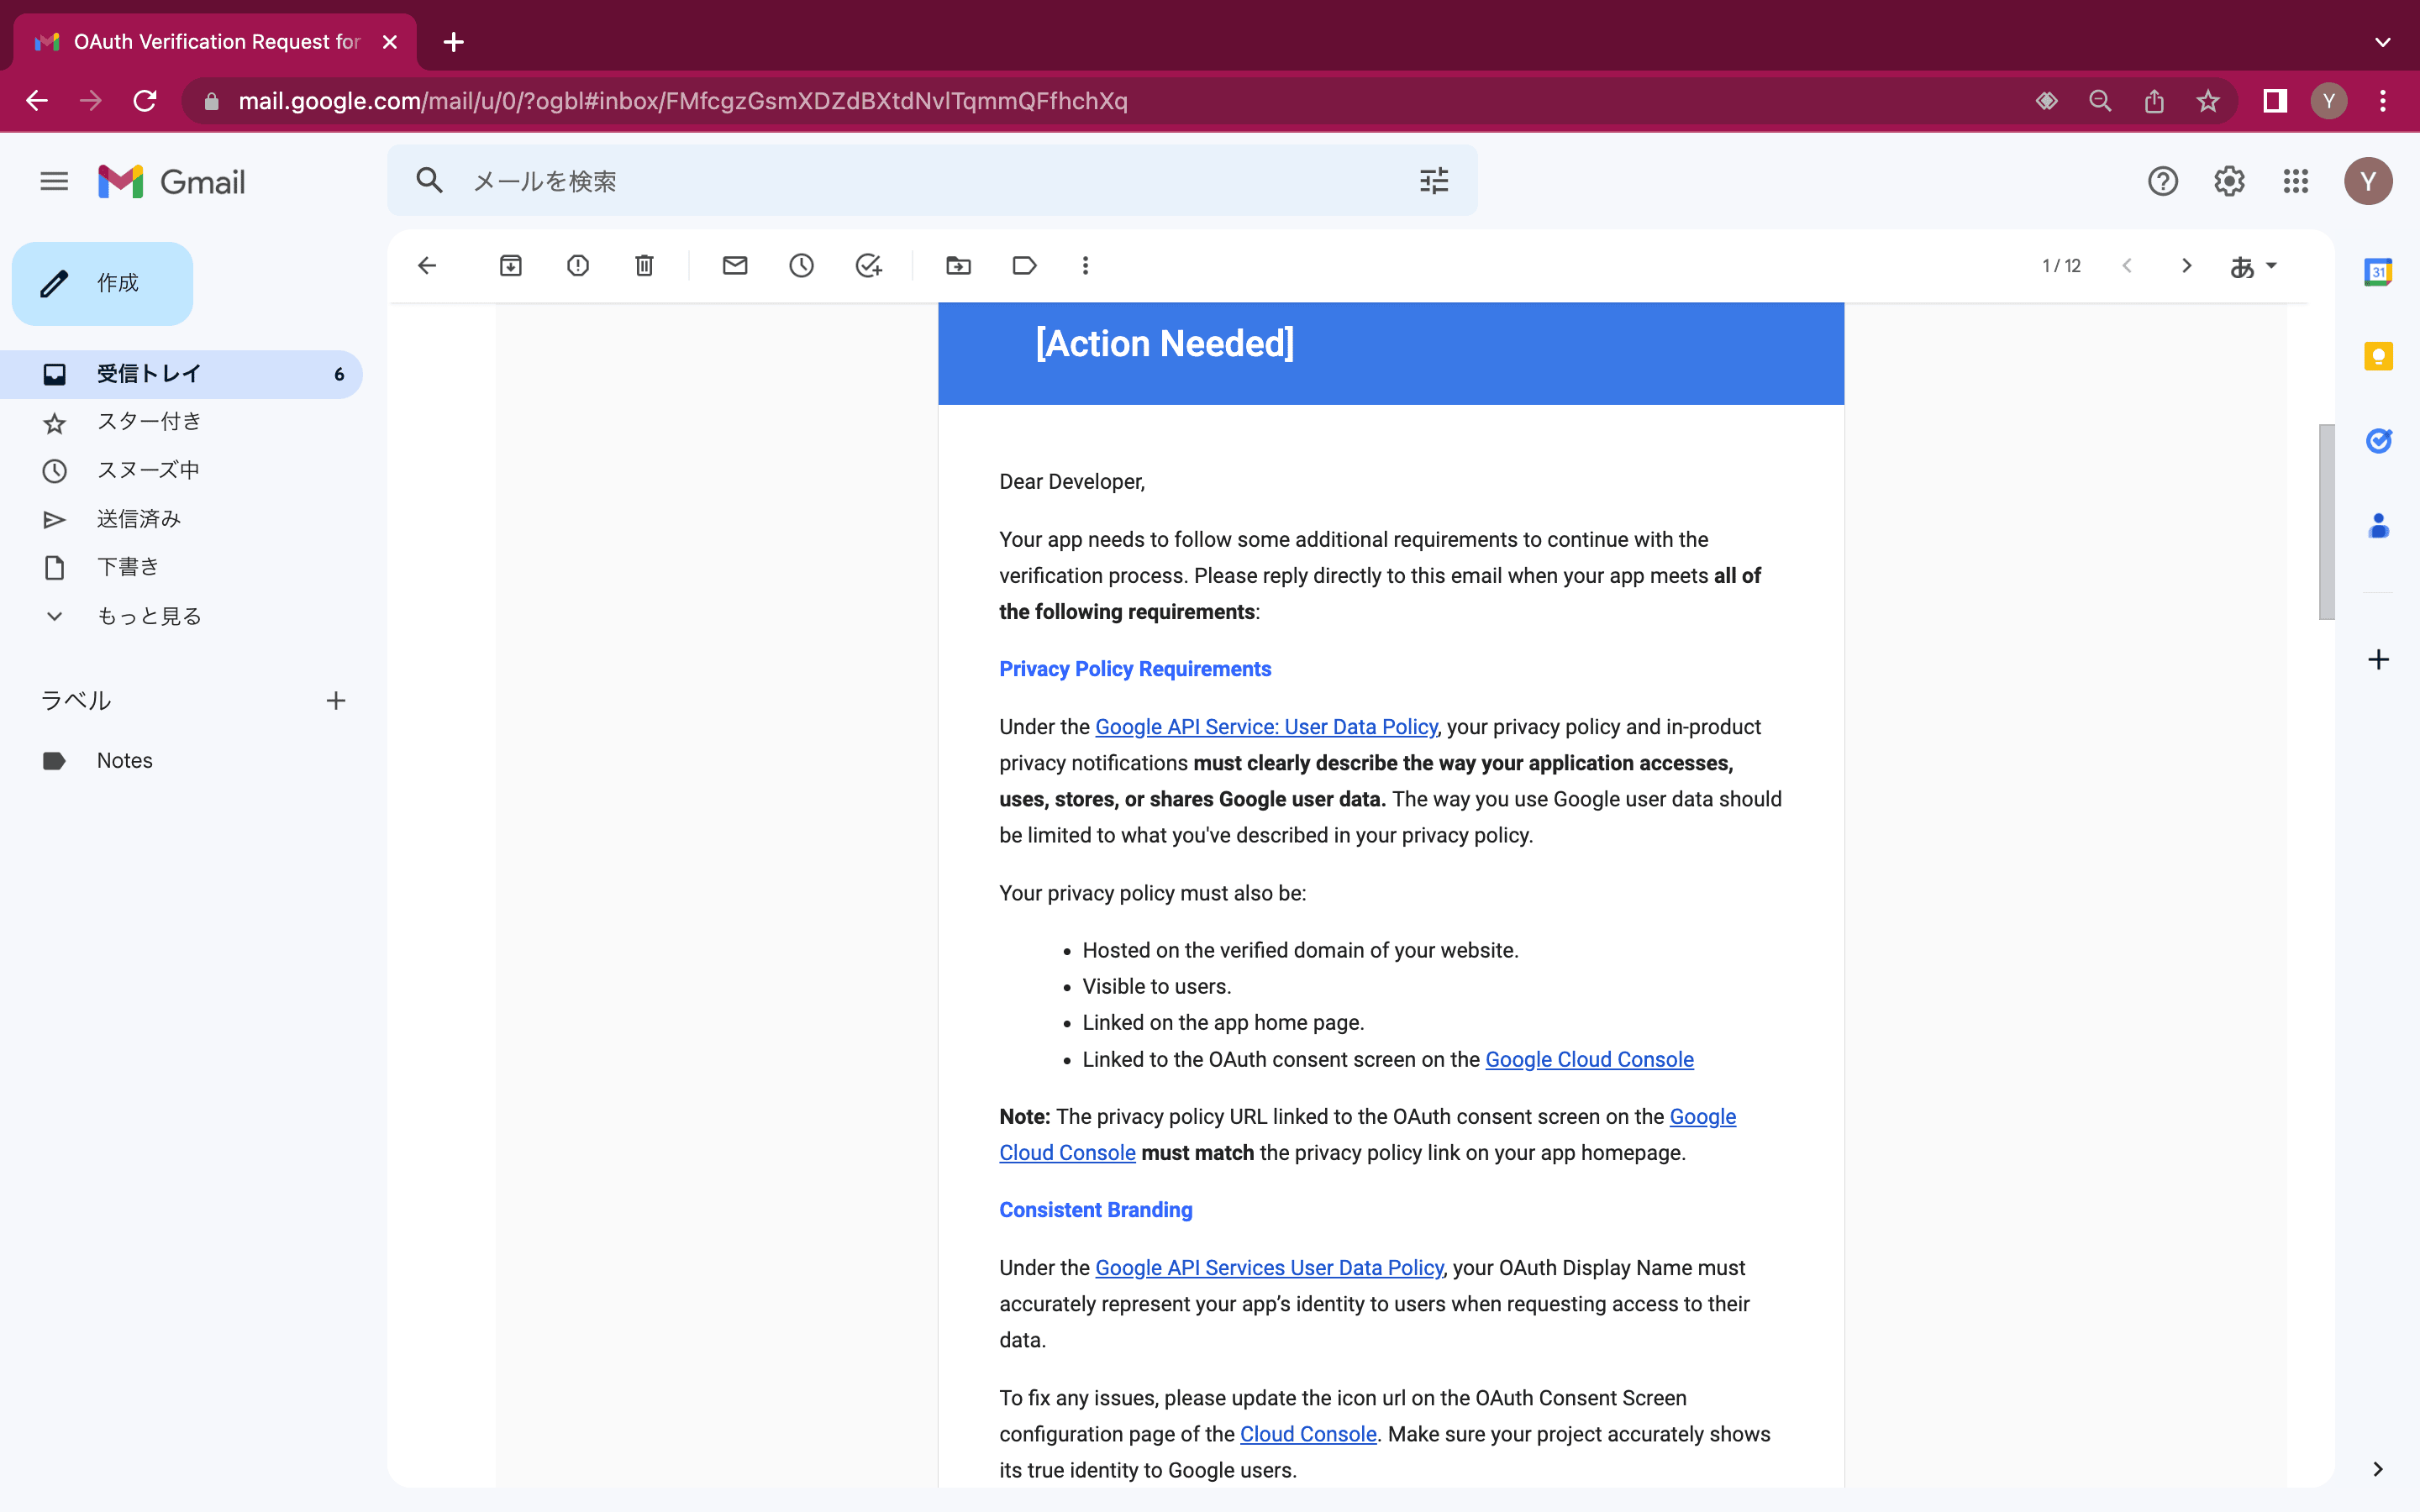
検証「ポリシーの遵守」
たいてい、追加の指摘の連絡が数時間後に来ます。
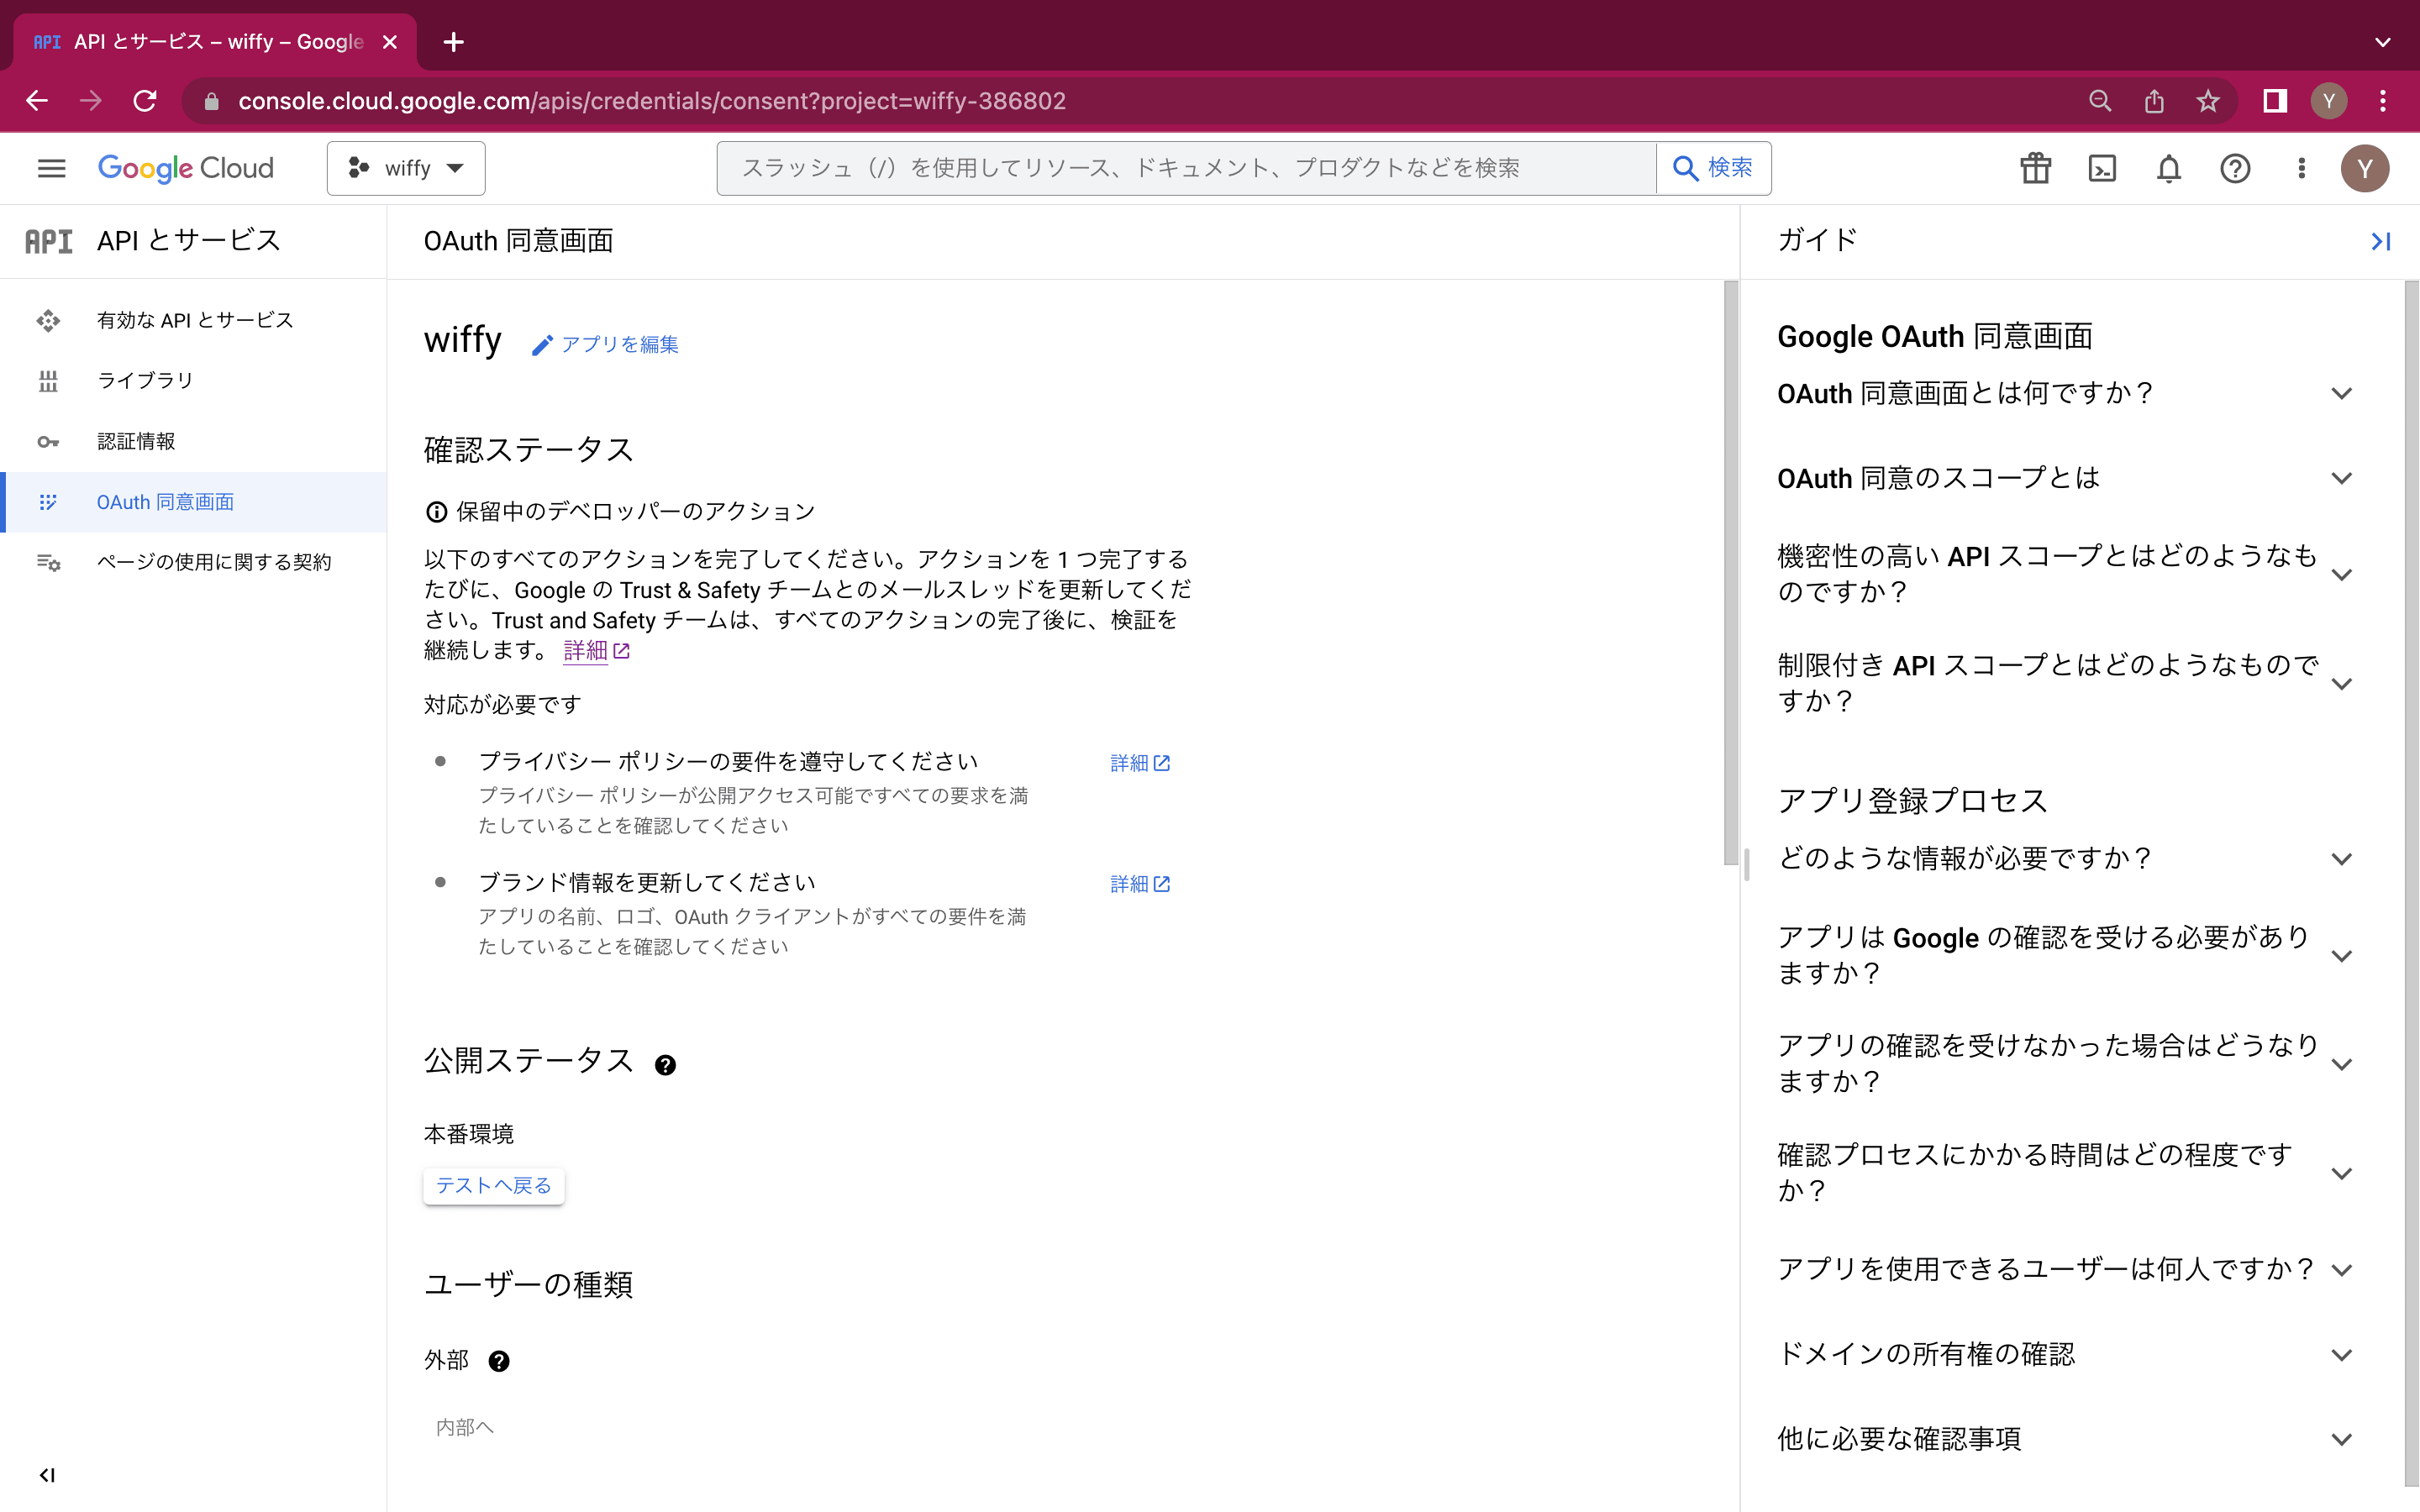
「OAuth同意画面」の「確認ステータス」でも確認できます。
指摘 アクション ユーザーのデータがWebアプリケーション側でどのように利用されるのか、およびその説明がプライバシーポリシーに掲示されているか、そしてそのプライバシーポリシーがOAuth同意画面側から参照できるか。 参照先プライバシーポリシー上のユーザーへの説明箇所を明示し、また、動画(スクリーンキャスト)でも説明します。一連の動作を録画し、レビュワーに対しURLで参照できるようにします(今回はmp4形式の動画をYoutubeにアップロードし「限定公開」しました)。 今回作成したOAuth同意画面側にアップロードしたアップロードしたブランドロゴと、Webアプリケーション側のロゴが異なる。 「OAuth同意画面」の「アプリのロゴ」をWebアプリケーションと同じものをアップロードし直しました。 最後に、メールに対し、本アクション後の返信をします。
メール返信例
Hi,
User Data Policy, your privacy policy and in-product privacy notifications must clearly describe the way your application accesses, uses, stores, or shares Google user data.
See the "Use of Your Personal Data" section. https://webauth.wifiservice.jp/privacy/?lang=en
To manage Your Account: to manage your registration as a user of the service. The personal data you provide can give you access to different functionalities of the service that are available to you as a registered user.
For example, when you connect to the service using your own Wi-Fi device, Internet access will be granted upon successful sign-in to each SNS service via the Wi-Fi Captive Portal.
At this time, as account information for the service, your OpenID, which is the user identifier managed by each SNS provider, handle name, and email address are also stored in the database of the service.
OpenID is stored in the service as an authenticated user ID that can connect to the wireless LAN and can use the Internet, and is also used for status management such as validity period.
Your handle name and email address, which are stored at the same time, will make it easier for us to find and delete your account by telling us when you want us to delete your account.
Hosted on the verified domain of your website.
Visible to users.
Linked on the app home page.
Linked to the OAuth consent screen on the Google Cloud Console
Note: The privacy policy URL linked to the OAuth consent screen on the Google Cloud Console must match the privacy policy link on your app homepage.
I took a screencast, so please watch it. https://youtu.be/XSZqbAyddLc
To fix any issues, please update the icon url on the OAuth Consent Screen configuration page of the Cloud Console.
It has been changed to the logo posted on the web application. https://webauth.wifiservice.jp/site001/?lang=en
Best Regards,
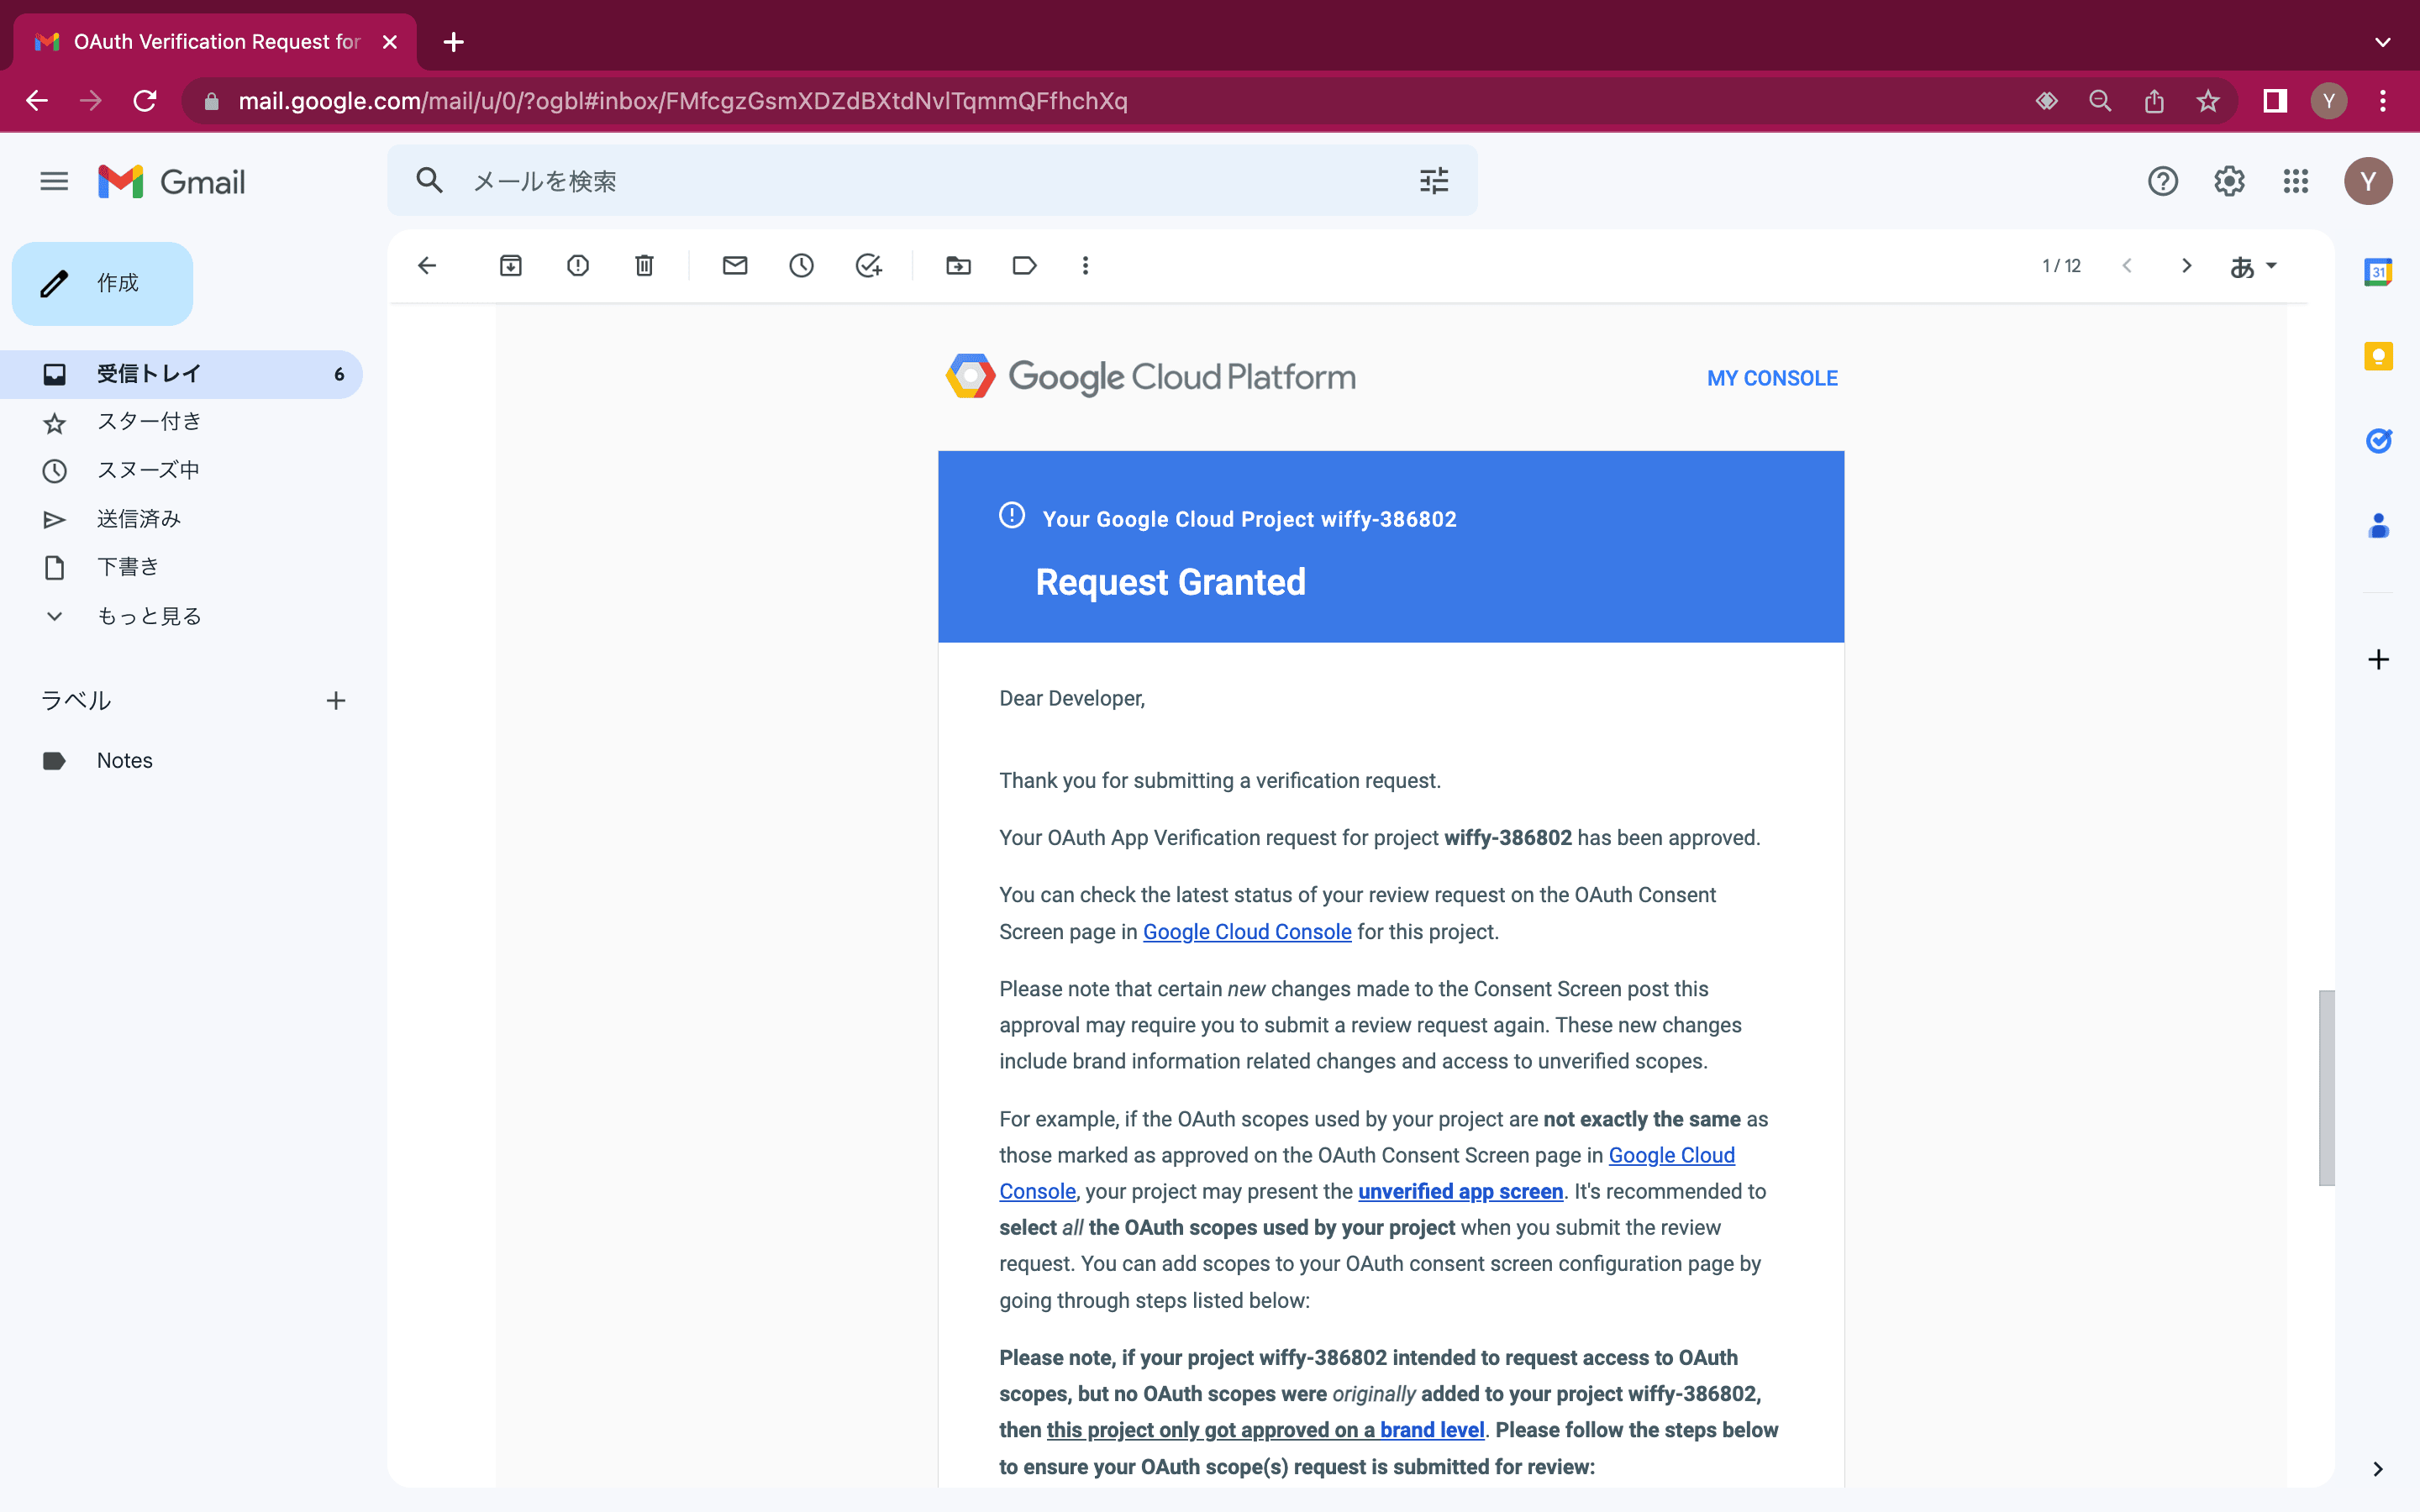
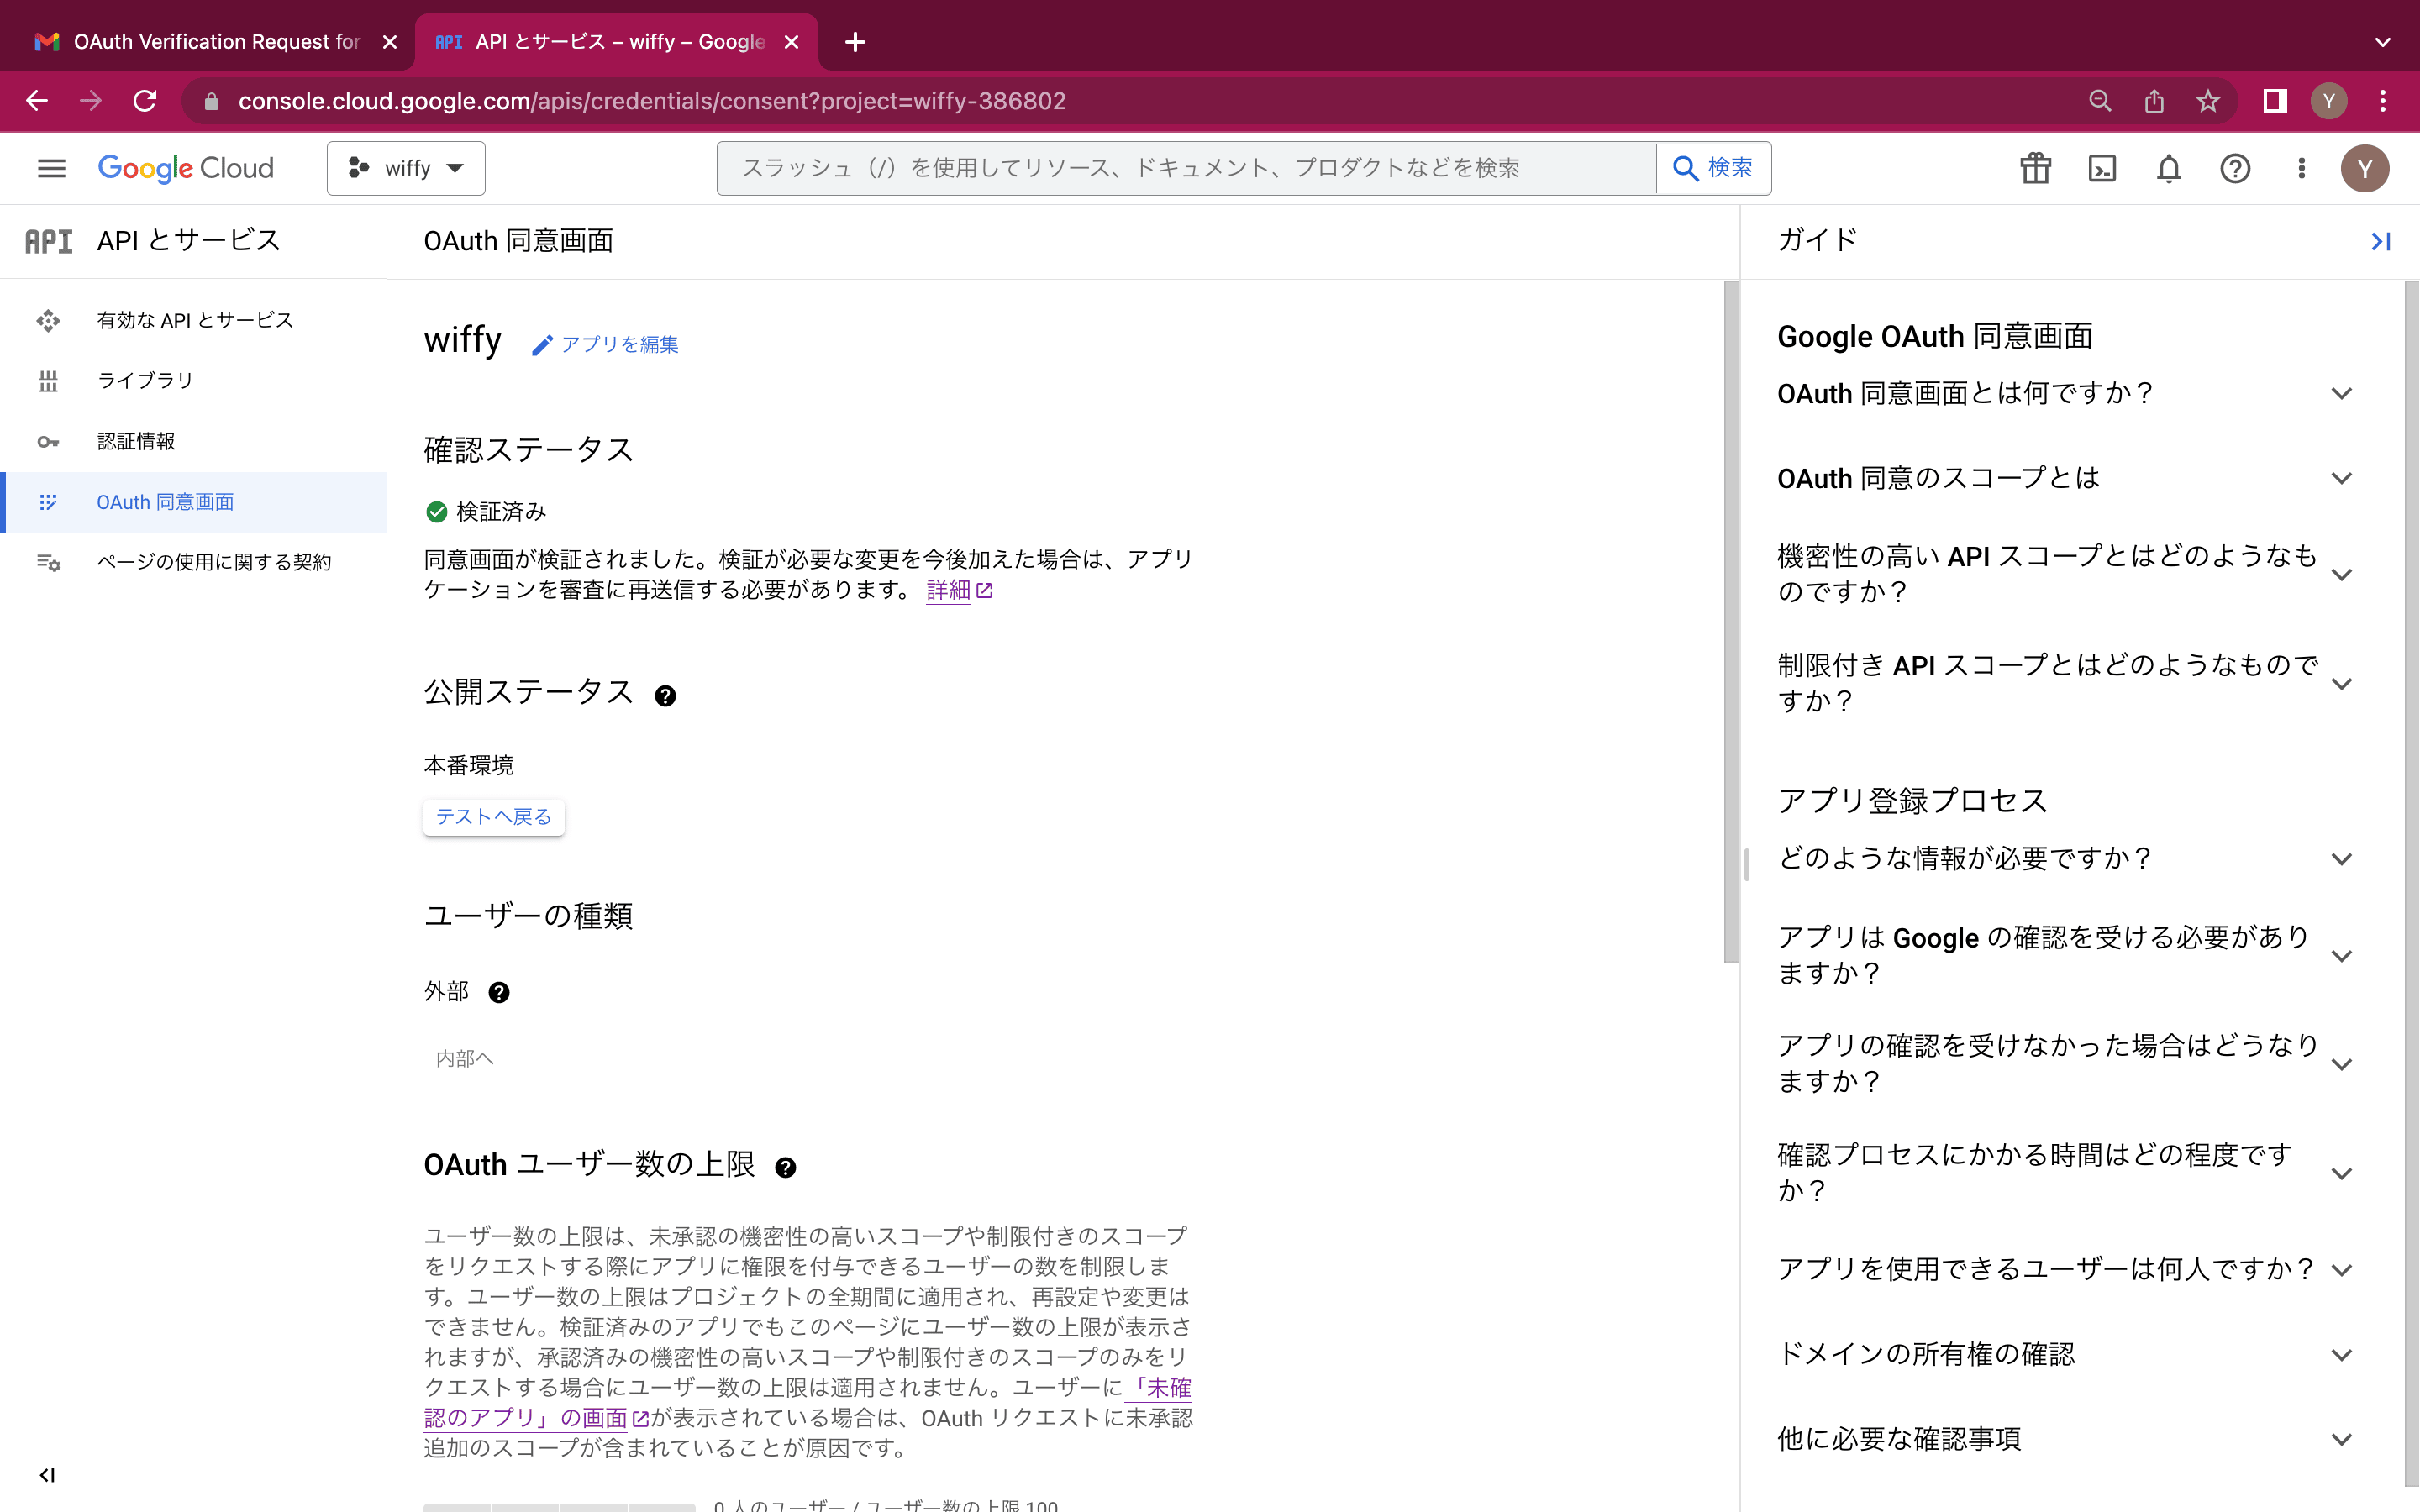
数時間後に「Request Granted」というメールが来ます。
「OAuth同意画面」の「確認ステータス」も「検証済み」。